Camera Comedy Capers

I’ve started the images with the one that worked properly

It was a nice afternoon. So I suggested that we take a big 4x5 large format camera over to the Humber Bridge and take some pictures. And have an ice cream. So we did.

It didn’t go that smoothly. We had trouble fitting the film magazines onto the back of the camera because I’d forgotten how the fixings worked, and then I managed to take not just two, but three pictures on the same frame.

This would probably have worked if my shirt had kept out of the picture.

The capers didn’t end when we got home. I managed to load two frames into one side of the film holder in the developer tank, leading to some partial development and really interesting coloured marks on the negative.

I think the camera got shifted when we put the film in. We really should have both towers in the picture.

Oh well. At least the ice-cream was nice.

Blackfinger

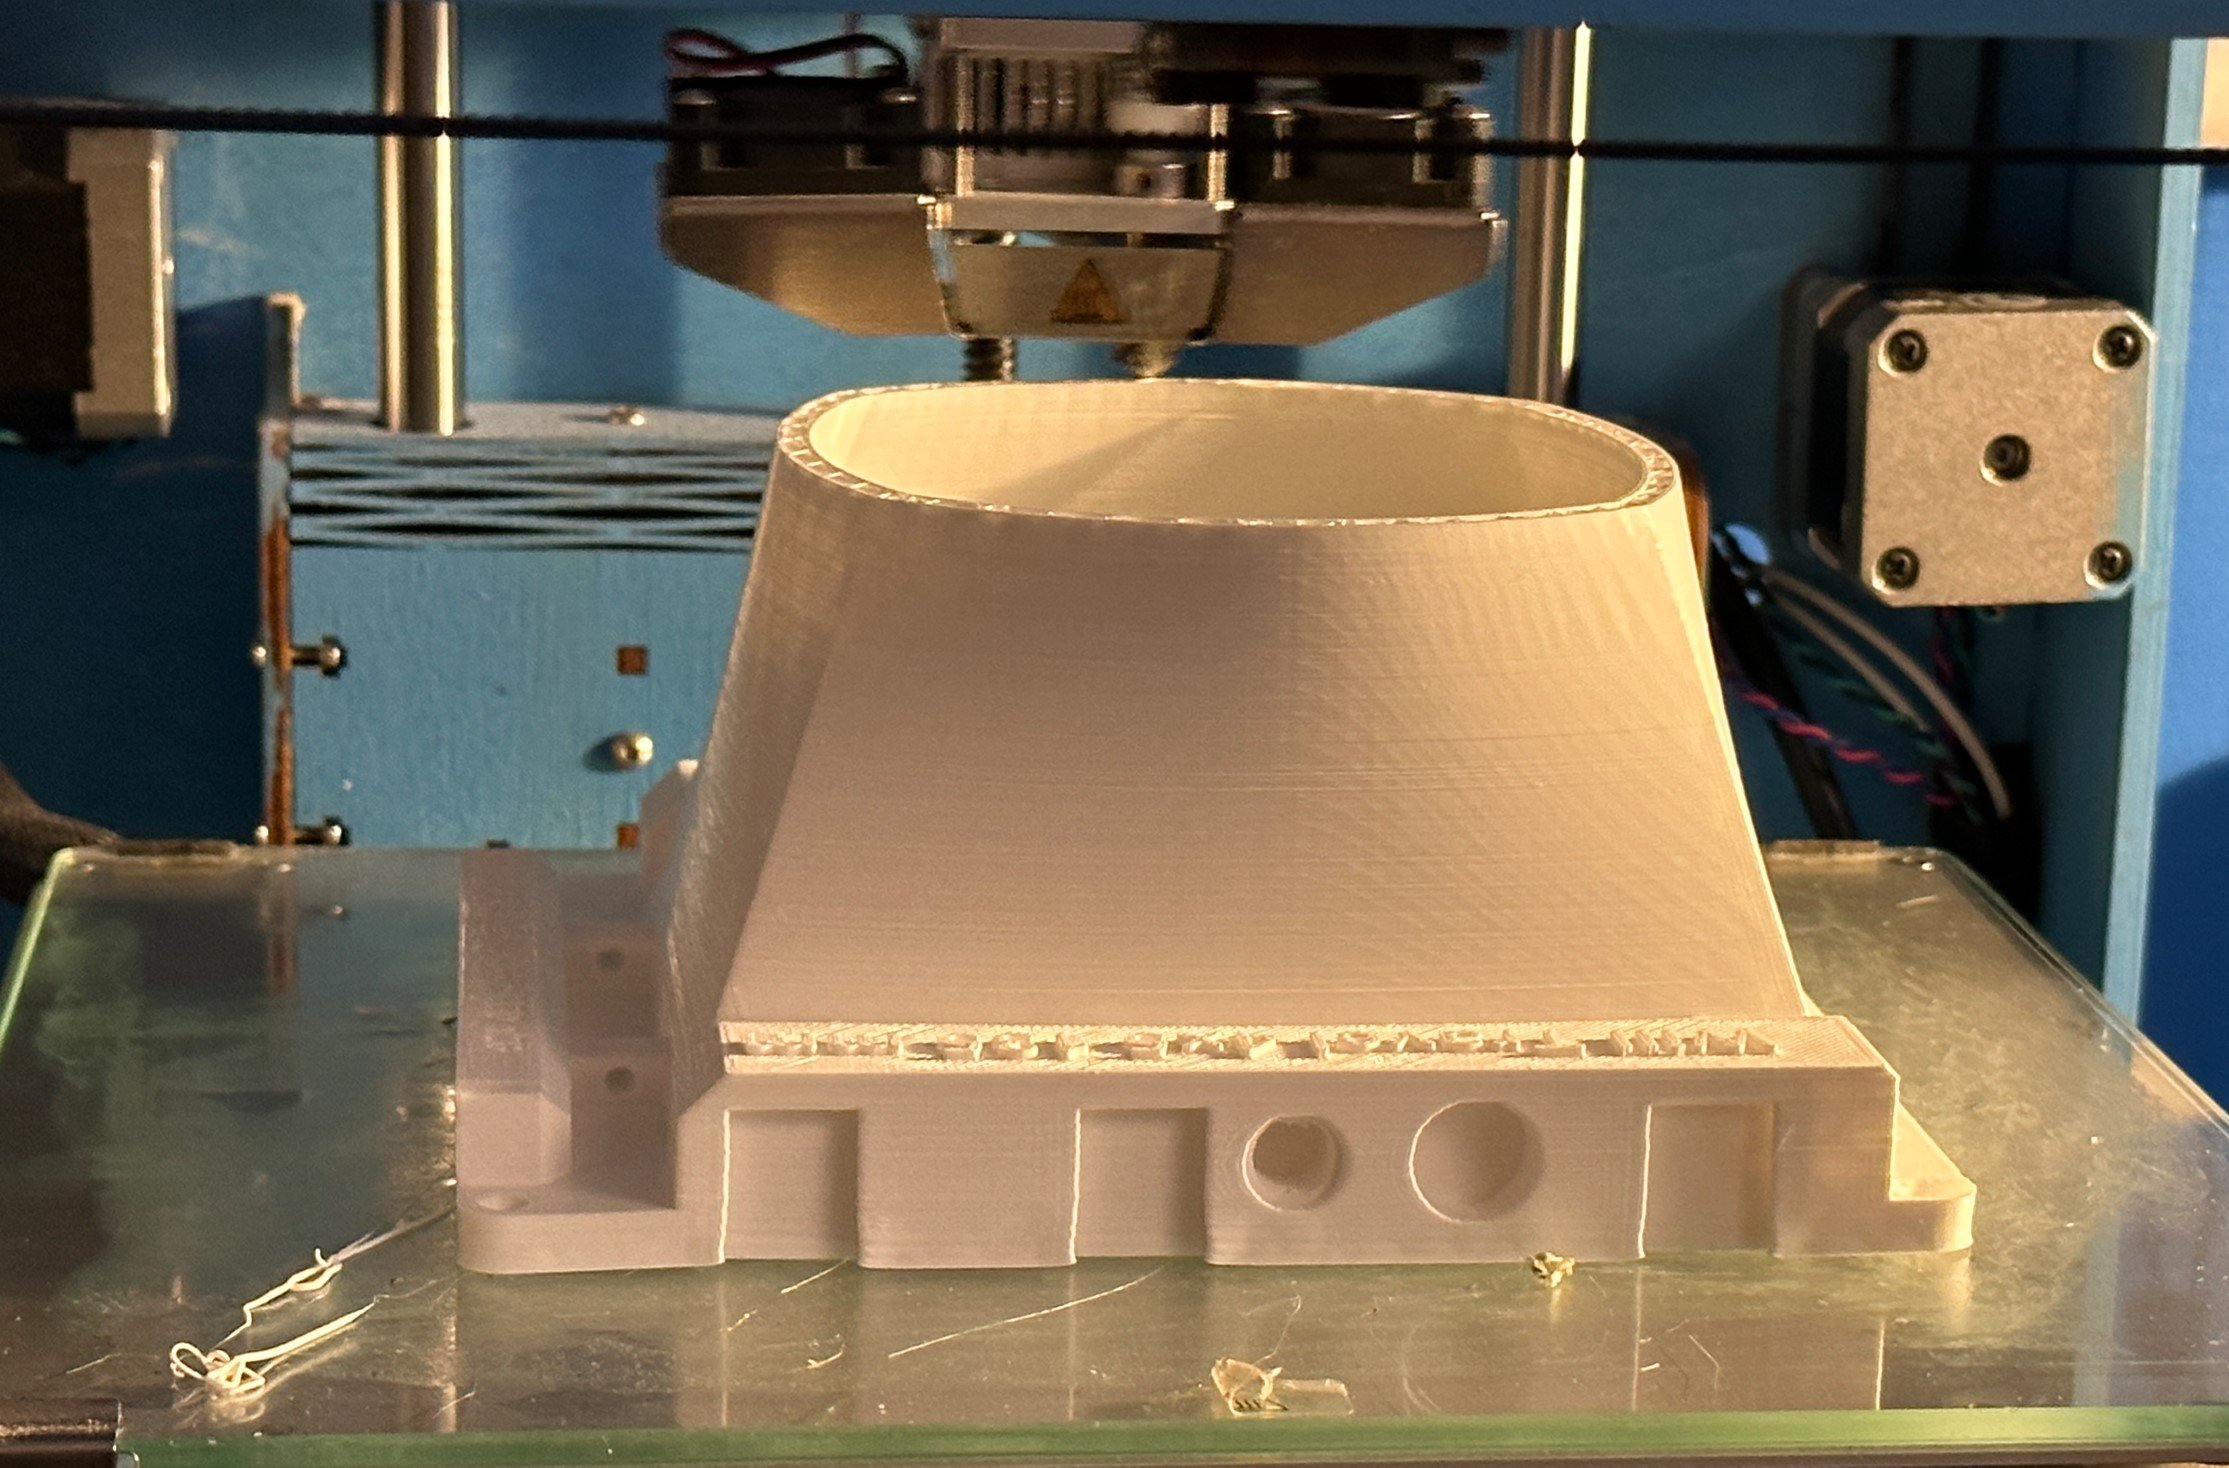
I’m 3D printing a camera at the moment. I’ve discovered that one of my early design decisions was not the best. It turns out that white PLA is not the most opaque colour I could have chosen. Cameras that let the light in are not optimal.

So today I decided to remedy that by painting the inside of the camera with matt black paint. I bought a spray can of the stuff, found a place in the garden as far away as possible from everything else and set to. It worked rather well. I’ve put on two coats and it is now looking a lot darker inside the camera, which is a good thing. The only snag is that it has turned out to be impossible to stop the black paint getting onto the outside of the camera (at least for me) so the next part of the plan is to paint the outside of the camera black too. That way I also get even more opaqueness.

The really good news is that the paint I’m using seems to stick really well to PLA. The only other snag has been that I now have a black finger (the one that has been pressing the button on the spraycan)…

Printing a Will Travel camera

I’m printing a 4x5 print camera. I fancy some hand held large format camera action. I started the printing around 7:30 am this morning. We are now eleven and a half hours into the print. It is supposed take around 14 hours, but I’ll be very surprised if it is finished before we go to bed. The good news is that all is well so far. I put some glue onto the print bed (just a thin layer of Pritt stick) and that seems to have stopped the corners from lifting too much, which is nice.

White might not be the most sensible colour for a camera, but the plan is to line the inside with black felt to reduce reflections and keep the light out. And it should look cool…

Negative results

I’m still working with my large format Intrepid camera. It’s great fun. I’m down to around twenty minutes per photograph now….. On Wednesday I sent off some negatives to Harman Labs for developing. Their service is excellent. Yesterday I got a call from them saying they had received my film but I’d neglected to tell them what kind of film I’d used….

Today the negatives arrived back fully developed. I’d taken four pictures so I could check out the film holders and make sure that my light tight changing bag (which is where I loaded the film and then put it into box for posting) was actually light tight. I was very pleased to discover that all the pictures had come out. They were negative though. All the whites were black and vice versa. The clue’s in the name.

I opened up an empty white page on the iPad and then took some pictures of the negatives laying on the screen with my iPhone, Then I used a free app to reverse them. This is not an optimal workflow. I’m going to have to figure out how to get a film scanner in on the action to extract more detail from the negatives. However, as you can see above, they seem to have come out OK. I love the quality and the way things seem to stand out of the frame. I think I am now a large format convert. Next step is home processing….

Adventures in sweet photography

What do you do when you’ve got yourself a large format camera? Why, take some pictures of sweets of course! I ended up taking three versions, trying to get the exposure right. I’m using Instax film which becomes much less sensitive when the light levels go down low.

These should serve as useful references if I take more pictures at the same light level. Essentially it looks like the film needs an extra four stops worth of light at this exposure. The top frame was taken using settings suggested by the light meter, then I opened up two stops for each of the successive ones.

I’m very impressed with the level of detail you can get from the film though. I got out my magnifying glass and I could read all the tiny printing on the wrappers.

Proper photographers talk about “reciprocity failure” which is when the film becomes significantly less sensitive at low light levels. This might be something along those lines.

Large format photography fun

The bellows camera arrived today. It’s awesome. This is the third picture I’ve taken with it. It came with a Lomograflok back which lets me take large format pictures straight onto Instax Wide film. As you can see, it mostly works. The picture is of some Spintronics components. It turns out that by extending the bellows nearly all the way out you can make a pretty good close up camera. I’ve just noticed that the copy of the image I took above is a bit messy because I just grabbed a snapshot of it with the phone. Sorry about that. If you are wondering, this is how you take a picture:

  1. Clip the ground class screen onto the back of the camera with the Lomograflok spacer between it and the camera.

  2. Open the shutter.

  3. Set the aperture to F5.6 so you can see a faint image on the ground glass screen.

  4. Adjust the focus until the image looks sharp, and then frame the picture.

  5. Use a magnifying glass to make sure that the image really is sharp.

  6. Close the shutter.

  7. Use a light meter to get the shutter speed and aperture and set them on the camera lens.

  8. Cock the shutter.

  9. Remove the ground class screen.

  10. Turn the Lomograflok back on.

  11. Slide the Lomograflok back onto the camera and clip it into place.

  12. Remove the dark slide (a metal plate that keeps light off the film) from the Lomograflok back.

  13. Trigger the shutter.

  14. Put the dark slide back into the Lomograflok back.

  15. Remove the Lomograflok back from the camera.

  16. Eject the photograph from the Lomograflok back.

  17. Wait for it to develop.

I’m not going to show you pictures four and five that I took because I forgot to put the darkslide back into the camera Graflok back (step 14) after taking the shot, and ruined them both...

At the moment it is taking me around five minutes per shot. Perhaps I will improve with practice. Then again, perhaps not. I’ve got some film holders that you can also use with the camera, enough to hold four shots. I don’t think I’ll be taking many pictures with it, but I think they are going to great fun.

Intrepid Rob

As a follow on from Ivan’s lens of yesterday, today I ordered a complete which I manged to get second hand at a very attractive price. It’s a 4x5 bellows camera made by Intrepid It is even harder to use than the hardest camera I’ve ever worked with. I’m really looking forward to it arriving. And if it seems that for the last few months I’ve done nothing more than write book chapters and buy cameras you’d be completely correct. And I don’t care.