Frozen Connected Little Boxes
/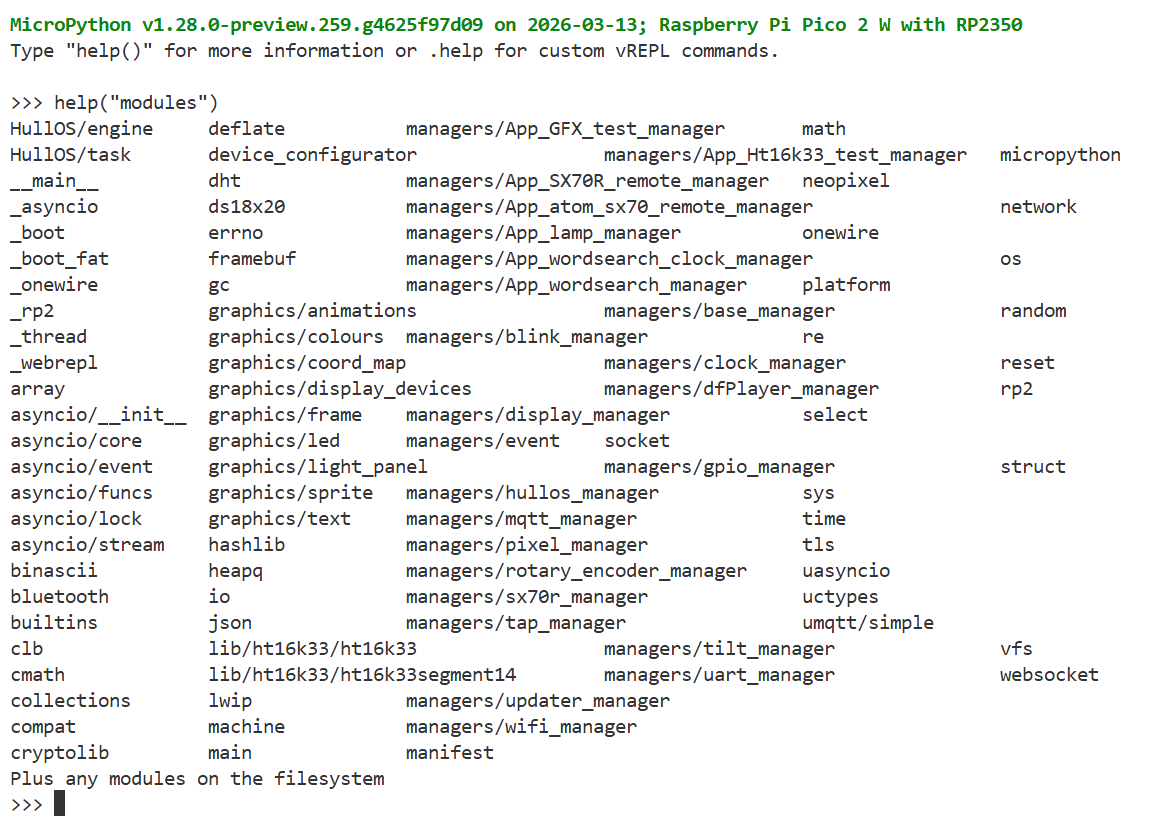
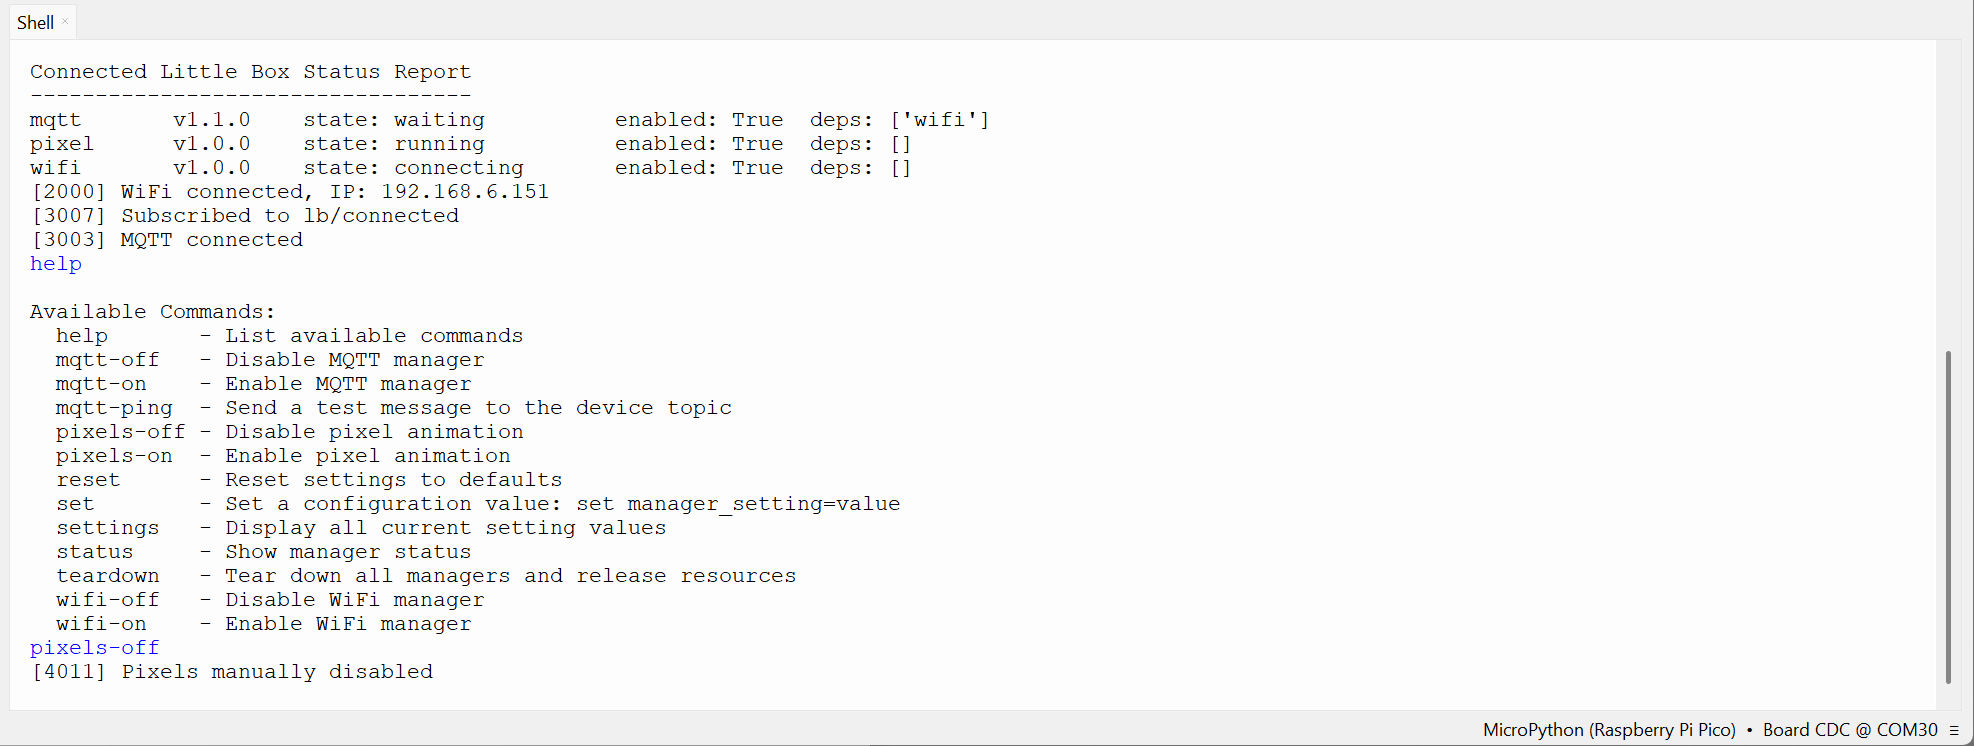
My MicroPython Connected Little Boxes (CLB) implementation is going from strength to strength. I’ve got a bunch of hardware managers all working together and I’ve made quite a few devices using the platform. And today I’ve managed to build my own version of MicroPython, incorporating the CLB code. This is wonderful for quite a few reasons. It makes it easier to install the library, since you just have to flash the MicroPython image and you get the CLB code for free. It makes more memory available for code, since the CLB programs run from flash memory. It also means that things will get going faster as the CLB functions don’t need to be compiled before execution.
The process of building your own MicroPython is a lot easier than I thought it would be, although you need a Linux machine to do it. I’m using Windows WSL on my PC, but I’m going to have a got at building everything on a Raspberry Pi. I’m going to make a complete howto for this. I’m also going to add a system to integrate settings files into the stored code so that it is easy to select from a repertoire of built-in device types.