Mostly writing
/Chapter 5 of the new book is coming along swimmingly. It’s great when you start to work out what it is that you are trying to write.
Chapter 5 of the new book is coming along swimmingly. It’s great when you start to work out what it is that you are trying to write.
Spent a tiny bit of time today playing with soundtrackers. Great fun and bringing back all kinds of memories.
My Deluge is one of my favourite musical instruments. The only thing wrong with it is the display, It’s hard to navigate the huge range of features using just a four digit display.
But that is about to change. They’ve just announced a new version of the device with an OLED display. You might think I’m unhappy about that, what with me having the old version and all. But the amazing news is that they are also offering the OLED upgrade for existing devices too, at a not extortionate price.
This is totally atypical behaviour for people who make devices like this. An upgrade to the product usually results in a need to buy a new one. Kudos to Synthstrom for doing this.
There is going to be a lot of interest in this, I’m looking forward to getting mine done.
I’ve just finished writing Chapter 4 of Begin to code: Building apps and games in the cloud. You can find the new chapter, along with all the example programs including your very own web server, here.
There’s a pub in Beverley called the “Dog and Duck”. When I first heard the name I built up this nice little narrative about a dog and a duck who go around having adventures and maybe even solving mysteries. I’ve just taken a proper look at the pub sign.
Oh well.
Ha. Turns out that Dog and Duck is already a thing.
Sad to hear the news of the queen passing away today. A good, sensible person with a sense of humour doing an impossible job for a very long time. Well done your majesty. You will be missed.
I think I’ve found the problem…
I was all set for the Connected Humber Meetup this evening. However, as I was headed down the road I got a warning about low pressure in one of the tyres. It wasn’t hard to see why. Fortunately, I was very close to Endyke Tyres so I popped in to be told that it was time for a new tyre. The good news is that they can get one in tomorrow. So I put some more air in the tyre, drove home very carefully, swapped cars and managed to make it to the Meetup just about on time.
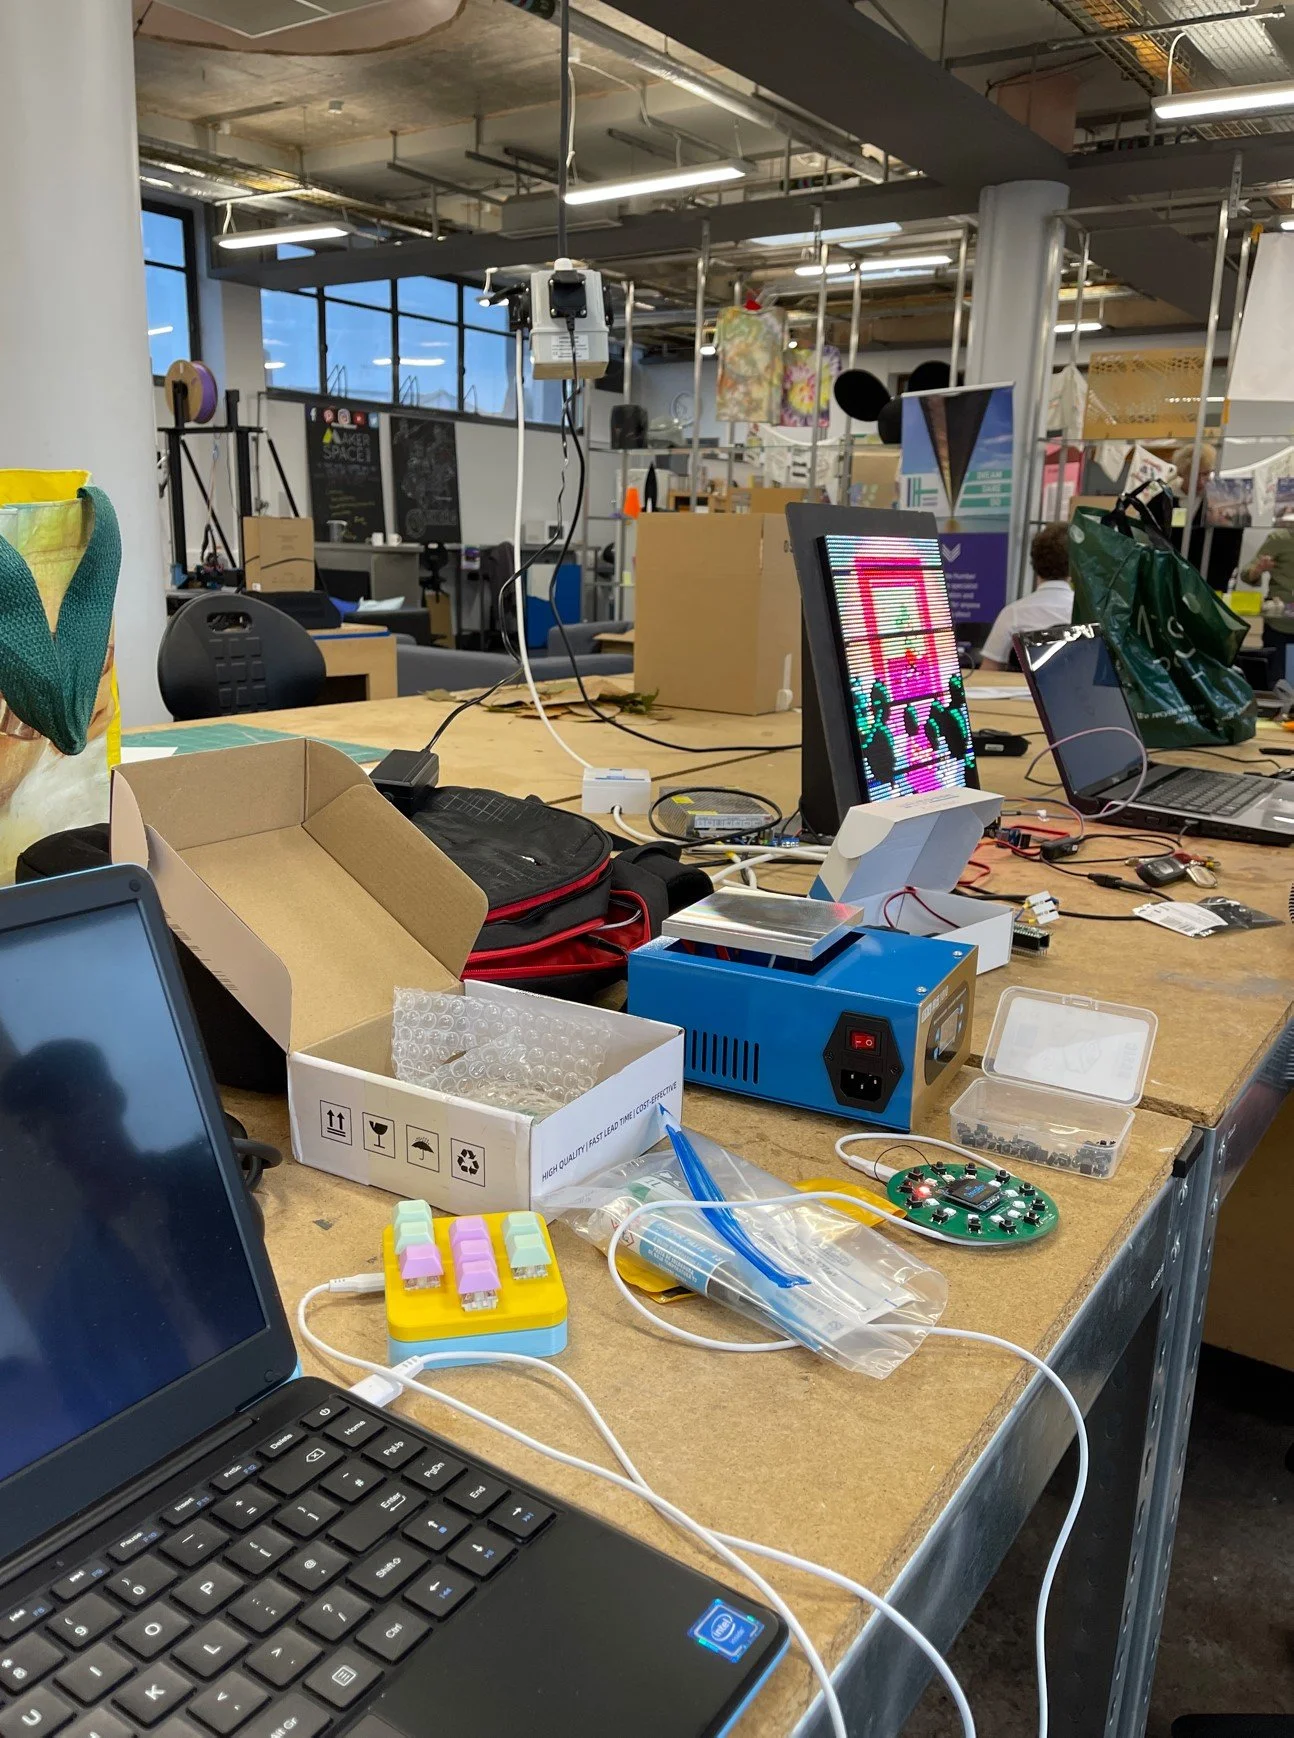
The meetup was excellent. I showed off my oven and bits and bogs. Brian had brought along a really pretty display, powered by a really beefy power supply. He also had his PICO audio device playing Gerry Rafferty.
Ion had brought along a very accurate sine waves for amplifier testing. Ben turned up and finally got his lights with names in. John came along and we talked about bits and bobs. My laptop decided to update everything during a demonstration audio which didn’t go too well but there was lots of other good discussion too.
Great fun. The next meetup is on the 5th of October. If the parts arrive from China I want to do some live surface mount soldering.
When I was younger one of my favourite musicians was John Miles. I bought quite a few of his records. I was just getting one of them out of its sleeve (Zaragon - not his best) when this ticket fell out. I must have tucked it away many years ago. Who knew you could get a live band (and support) for the sum of 1.75? In Hull.
Amazing times.
Got my dusty old record deck down from the loft. Along with a bunch of dusty old records. One of the few nice things about being old is that when stuff comes around again you can just go and get your originals.
I’ve got around four other decks up there. I suppose all the rubber parts have failed - I had to get a new belt for this deck - but I’m tempted to get them down and just see if they still work.
When VHS comes back, I’m ready for that too.
Following my success making a version of the MIDI CheeseBox on a surface mount PCB I now have to make a case with coloured buttons. I’m going to need red, blue, green and yellow. Some of which I don’t have. The good news is that there are folks who will sell you a pack of short lengths (10 metres) of a range of colours at a reasonable price. I think these are intended for use in 3D printing pens, but they should work OK in Edna the Ender 3.
I love my Lomography Instax Square camera. But it does have its foibles. One of them is that the viewfinder is really hard to use. I totally understand why. The way that the picture has to come up through the top of the camera makes it impossible to put the viewfinder in the traditional place. But it does mean that when you’re taking close-ups it’s hard to work out what will be in the picture. However, it turns out that Lomo have done something to try and make it easier. But they don’t really tell you about it anywhere.
Above you can see the view through the viewfinder. You can see that there is a brighter part at the bottom right of the window. I think this is the region you should use when photographing things using the close up focus. Below is the result that I got taking a close-up picture with the viewfinder showing the view that you can see in the viewfinder above and I think the truncation just about lines up.
I thought it might be fun to add an OLED screen to the CheeseBox when we made the printed circuit board. I’ve just soldered one into place and written a little driver for it. I rather like the look. Now I have to design a box and some buttons.
The wire is there to bypass a component that it turns out we don’t need. I’d added a level converter to take the 3.3 volt led signal up to 5 volts, because sometimes the Neopixels that we are using prefer this level. However, they seem to work just fine without it.
If you’re wondering what the back of the board looks like, and just how badly it is possible to solder a PICO to some pads on a PCB, then you can see the answer above…..
Immortality from Half Mermaid games is a game like nothing I’ve ever seen before. You’re curating clips of movies about a missing film star from the past. The clips include out-takes, interviews and chunks of three different movies. You can pick the clips from a menu, or you can click on items in them to transition to a linked artefact in a different clip. The content is pretty grown up and the atmosphere of movie production is very well created, as are the kinds of dodgy movies that got made before everyone could get all the dodgy stuff they wanted via the internet.
So far, so murder mystery. Then things take a serious left turn that I don’t want to tell you about because you really should play the game for yourself. It must have taken a huge amount of effort to get the look and the performances that make the whole thing work. It’s both a tour-de-force and a really engrossing experience. The game is out on Xbox game pass. You really should take a look at it, but it is not one for the kids.
Thanks to some sterling rework by number one son I now have a fully working PICO MIDI CheeseBox on a PCB. It isn’t as tidy as it could be, but it works. I wasn’t expecting this for my first attempt. Kudos to Brian for a fine design.
We tested the board by soldering wires onto connections and using an external PICO device to drive it. If I was re-designing the board (and I will) I’d add some test points so that we can inject signals to test the board without having to solder the PICO on the back.
We’ve just had another in-person board game night. The novelty of being in the same room as everyone is starting to wear off a bit, but it is still much more fun than online. We played a game called “On Tour” which is all about planning routes over the USA or Europe. You take it in turns to throw dice to get numbers you have to place on a map to form a route of continuously ascending values.
I was spectacularly bad at it. I think this was because I made some bad decisions early on which destroyed any prospect of making progress. The game itself is beautifully produced and the artwork is very well done. Don’t expect to finish the game in 20 minutes like the rules say though. It took us a couple of hours to get complete all the routes. Perhaps we’ll be a bit faster next time. And maybe I won’t put adjacent values at opposite sides of a continent.
This was the kit. The tweezers were very useful.
Today we got around to actually using my little oven. I’d bought a syringe with solder paste, some tweezers, a bunch of switches and a bunch of leds to solder in place. First step was to solder put solder paste on all the connection pads. This involved squirting the paste out of the syringe onto the board, and then using the tweezers to place a component on each pad. Pro-tip, hold the syringe like you were going to stab someone with it, and then use your thumb to force out the solder. There’s a delay between you pressing the plunger and the solder coming out, so give a quick pulse of a squeeze and then wait for something to arrive at the end of the needle. If you squeeze continuously you get a stream of solder, and you don’t want that.
I was a bit stingy with my solder paste, which meant that I never got the magical “surface tension” moment where the components swing into place. Instead mine drifted around a bit.
I also got a temperature gun to check the temperature of the oven plate, but this didn’t work well because the cover is shiny. In the end we just set the temperature to 170 degrees and popped the board on for 20 seconds. Stuff melted, but there was a pleasing lack of smoke and funny smells.
This is what it looked like when it was finished…
The image above might not be correct. Actually it looked pretty tidy and all the components were stuck on the board. Next step is to solder the PICO on the reverse of the board and then test everything.
I showed number one son Mine Finder. “Too easy” he said. “How about adding multiple mines?”.
Done. Three mines in the game. You can play it here. The one above was quite fiendish…
I didn’t think we still had such things as circuses. But we do. We went to see one today. Circus Zyair are doing a very good job of keeping the circus traditions alive. There was a mix of acrobatics, clowning and at the end some death defying motorbiking which came as a bit of a surprise to us, especially as we happened to be sat a few feet from the ramp from which the bikes few into the tent. Well worth a trip. Especially impressive if you are five and a half years old apparently.
Had a great night out at Cottingham Folk Festival. We saw Lucy May Walker and Nerina Pallot perform in the parish church. They were both awesome. Lucy (or is it Lucy May) was up first. Just her and a guitar in front of an audience who hadn’t paid to see her and were probably wondering who she was. Such is the life of a support act. Anyhoo, she gave a fantastically assured performance. Her audience banter was right on-point and she ripped through her set with aplomb. Catchy songs sung from the heart.
Then it was time for the main attraction. I first heard Nerina Pallot via number one daughter who had some of her music back in the day. Her voice was in amazing form. Some new stuff and some of the older stuff, which sounded as clear and tuneful as the songs I’d listened to as I refreshed my memory in advance of the night.
It’s amazing that we get such good people allong to our little village like this. Thanks to everyone for making it happen. It really was a great night out. It was so good I forgot to take any pictures….
I quite like the look of the shadows in the bedroom this morning. And yes, that is my head in the bottom right-hand corner.
Rob Miles is technology author and educator who spent many years as a lecturer in Computer Science at the University of Hull. He is also a Microsoft Developer Technologies MVP. He is into technology, teaching and photography. He is the author of the World Famous C# Yellow Book and almost as handsome as he thinks he is.
Begin to Code with JavaScript is now available for purchase and download. You can find it here