Bluetooth Thermal Printer
/
As a stepping stone to a printing portable camera I’ve bought one of these from Ali Express. It will be interesting to discover just how much I can do with it.
As a stepping stone to a printing portable camera I’ve bought one of these from Ali Express. It will be interesting to discover just how much I can do with it.
Number one granddaughter has now reached the grand old age of “nearly five”. For Christmas she was given a Kidizoom printing camera. Lucky girl. The camera is awesome. The pictures it produces are OK with a fixed focus, wide angle, low resolution sensor which is as good as it needs to be. You can get shots off the camera by using a micro-SD card. Or you can print them in black and white on the built-in thermal printer.
This would be fun enough, but then the camera makers went to town with extra features. The camera has a colour LCD panel on the back, so there are a couple of games you can play. There’s also a bunch of image filters and some very clever extra things you can do with the printer. You can print mazes, a tie or even your own money with your picture in the middle. Really great fun.
The heck with the grandchild. I want one of these…..
Happy New Year to both my readers. We had a great New Year’s Eve. Watched a Bond film, saw in the year with the fireworks and then went to bed.
Today we went out to Hornsea on the coast for a trip out. We do this most years. Pandemic permitting. The weather was very kind we took our instant cameras.
I took a bunch of pictures and dropped them into my pocket to develop as we went around. It occurred to me that they were kind of “Schrodinger’s Pictures”. They might have turned into great pictures in the pocket, or they might be rubbish. I reasoned (probably incorrectly) that the pictures existed in both states until I looked at them. I wondered briefly about embracing the uncertainty and never looking. That way I could claim to have probably taken some amazing pictures.
I’m not going to tell you how many turned out badly…
In the end curiosity got the better of me and I took a look. I’m still learning how to use the camera, but I’m pleased with what I got.
I’m referring to the “Schrodinger’s Cat” thought experiment in which a cat is placed in a box with a radioactive detector which will poison the cat if it detects a certain number of particles. The idea is that because you can’t predict whether or not the particles will be detected the cat must be both alive and dead right up to the point where you open the box and take a look. I don’t think this is the origin of the phrase “curiosity killed the cat” but it might be…..
This experiment doesn’t map onto my situation particularly well, in that the fate of the pictures is pretty much determined by what I did with them before they went in my pocket, but I’m enjoying pondering about quantum photographs, which is the important thing.
I’m getting quite into instant photography. I really like the idea of producing a physical artefact when you take a picture. There are problems of course. From an ecological point of view it is a disastrous thing to do. The “films” are expensive and wasteful. The individual pictures are packed into a little plastic carrier which ends up being thrown away. The pictures themselves are a bit small and the quality is nowhere near as good as even an elderly smartphone can manage.
And yet I still like taking instant pictures. In the olden days (which I well remember) taking a picture was a bit of an occasion. People had to be positioned in the shot, readings had to be taken and transferred into settings on the camera. And the end result (which sometimes took ages to arrive) was often a disappointment. The good news was that when you ended up with a good photograph you felt that you had really made something. These days you can just tap the screen of your iPhone to get something that is perfectly focused and exposed. And exactly the same as the picture taken by the person stood next to you. Recent phone cameras let you use different focal lengths and will provide you with the right kind of blur if you ask for it. And you can apply filters to make your pictures look a bit different. But for me things are just a tad too easy and repeatable.
I got a Lomo’Instant Square as a Christmas present along with some film to get started. Now rather than asking for socks as gifts I can put in a request for more film. Number one son also ended up with one, so that we can compare results.
The Lomo is not easy to use. For a start the viewfinder is horrible. It is hard to see through and doesn’t always show you what the lens is actually seeing. You have to remember to remove the cap protecting the lens. Then you have to set the lens to focus on the right part of the scene. The exposure system (the thing that decides how much light to let onto the picture) is a more than a bit wayward. The camera has a flash with a very short range which will blow out the foreground and leave the background horribly dark. Pressing the shutter button feels you are like placing an expensive bet. The shot might look good, or it might not. It definitely won’t look like the picture taken by the person stood next to you.
You do have inputs though. You can ask the camera to brighten or darken the picture. You can do crazy things like just open the shutter for a while or take lots of exposures on the same frame. You have a remote control you can snap out of the camera and use to trigger shots or long exposures from a distance. With a bit of practice you start to learn to compensate for the viewfinder and the exposure and start getting interesting results.
The camera itself is an impressive lump of plastic with fabric covered panels and a bunch of buttons on the back. To take a photo you have to swing the lens open from its closed position and snap it into place. The camera feels well made although it would not stand up for long to “professional” levels of use. The lens is made of glass rather than plastic and really sharp. I’d call it a toy except for the fact that on a good day with a following wind it can produce fantastic results which would be impossible to get with any other device.
These are the first two test shots I took when the camera arrived. It had snowed the night before and some plants in the garden looked rather good. I like the pictures although a phone would have definitely done a better job.
I can’t recommend the Lomo as a camera you want to just grab and use. It will never replace your phone for just keeping a record of where you’ve been and what you’ve done. However, if you are prepared to put in the effort (and expense) of learning how to use it properly it can produce stunning results. It comes with a set of 25 “idea cards” which give a bit of inspiration.
For me the Lomo has put a sense of occasion back into photography which I really like. It was originally quite an expensive camera but if you keep an eye on the Lomography site you’ll find the price drops down every now and then. If you fancy breathing a bit of instant life into your photographic escapades it is worth taking a look at.
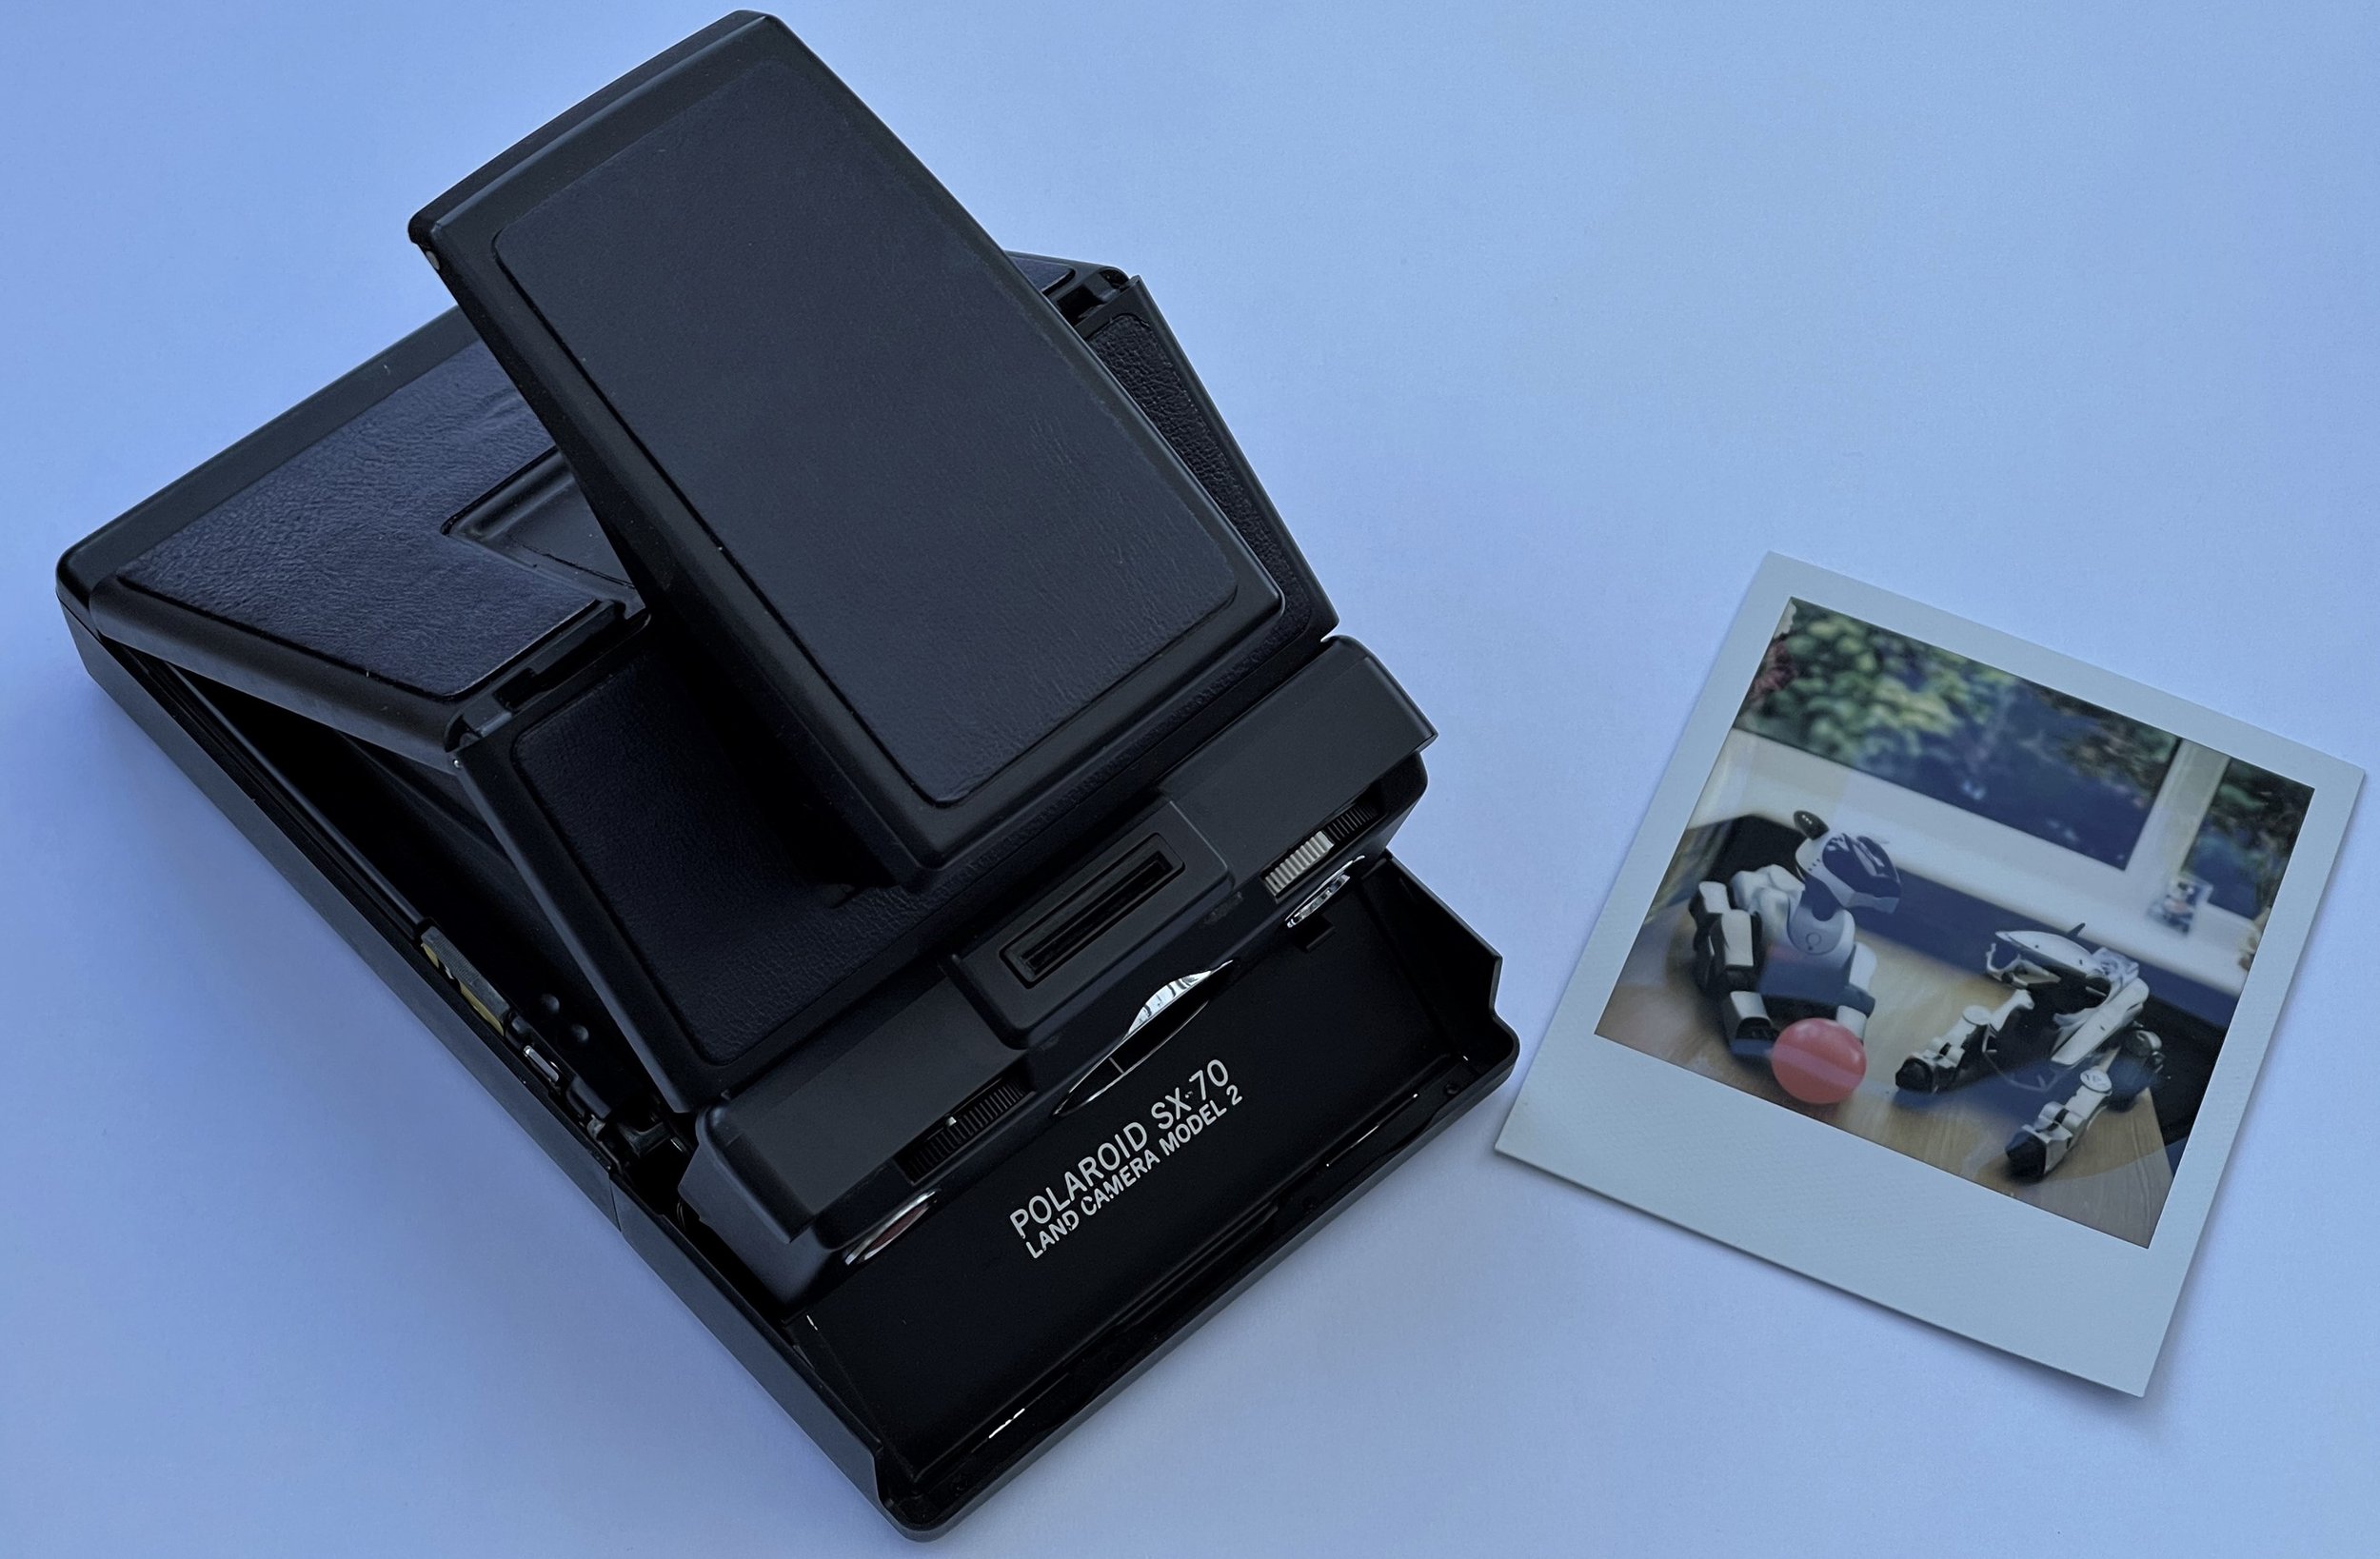
My “new-old” camera arrived last week. It’s the one that I’m selling a receiver to pay for. It’s a Polaroid SX-70 which was made in 1974. So it is very old. Up until a few years ago such cameras were completely useless as Polaroid had stopped making the instant film that they used. However, the Impossible Project (which has now assumed the Polaroid mantle) stepped in and started making films again. So a whole new generation can now discover the joys of instant shooting using a fold-up single lens reflex camera with an really nice glass lens.
I’m probably going to have to sell a few more things if I want to take lots of pictures with it though. Every time I press the shutter it costs more than two pounds to produce a single colour photograph. Which might be blurred or too dark or light. I’ve taken 8 pictures so far and I’ve only had a couple of duds. Pro tips for using the SX-70 that I’ve discovered so far..
make sure the focus is sharp in the viewfinder. Use the rangefinder prism (if there is one) to check.
Make sure you fill the frame. It’s square which means that you might find you only put your subject along the bottom (see above). Note that the rangefinder prism doesn’t mark the middle of the frame, it is towards the bottom. This can confuse your framing efforts.
If you are going to get exposure wrong, try to under-expose so that things come out a bit darker than they should. If they are over exposed they are just blown out to a white part of the image. If things are bit dark they look moody, which you can sometimes get away with. You can twiddle a little adjustment towards the dark side to do this.
Get the picture out of the light as soon as it comes out of the camera. Put it in an inside pocket (or even under your armpit) to give it somewhere warm to develop. After a few minutes you can take it out and have a look at what is appearing, but do this in a shady place.
In absolute terms the pictures that the camera produces are not that great. Your phone will be able to beat them for sharpness and colour. But that is not the point. These are tiny little works of art. You have to work hard to get a nice one and when you do the feeling of accomplishment is great. I’m enjoying taking very few carefully composed pictures rather than my usually process of taking a bunch with the view that I might find one or two good ones when I get the camera home and download the files.
The trend these days is for specialist shops to close. But WEX are bucking this. They’ve recently opened a slew of actual shops, one of them in Leeds. We went there today. I was permitted a few minutes to look round at what was on sale. But I wasn’t allowed to talk to any assistants or make any moves involving my wallet.
The store is really nice. There’s a good range of kit and you can also buy chemicals and bits and bobs for home film processing (which I’d love to have a go at again one day).
I think that WEX have realised that there is nothing quite like actually handing the equipment you are about to buy. They do a very nice line in demonstration videos (I’ve actually bought from them on the strength of these) but it is really useful to have an in-person option for buying this stuff again, even though I’ll have to make a pilgrimage to Leeds to do it.
When I was processing the picture tor yesterday’s post I realised that my camera sensor was absolutely filthy. The good news is that Lightroom is pretty good at getting rid of the resulting spots, but I don’t want to have to do this for every picture.
So today I cleaned up my sensor a bit. One of the problems with a mirrorless camera is that there is nothing between your precious sensor and the outside world when the lens is removed. Which means that your sensor will get dusty. If you want to find out where all the spots are, here’s how I do it.
Open Notepad on your computer and expand it to fill the screen.
Turn on your camera and set your the exposure to Aperture priority. Then set the aperture to the highest possible value (I go for F22).
If you point the camera at the white screen you should see any dust particles show up as black dots.
Turn the camera off.
Take the lens off and use a dust blower to blow the dust off the sensor. Do not blow into the camera yourself. And definitely don’t sneeze into it. And don’t get the blower so close to the sensor that it touches. If you hold the camera upside down while you do this the dust should fall out. I got a dust blower shaped like a rocket that I rather like.
Pop the lens on, power up the camera and check to see if the dots have gone. They should have. You can always repeat the the process a few times. If you have some tiny ones that won’t go away there my advice would be to leave them put. Definitely don’t try to wipe the sensor yourself, either get a proper kit or someone else to do it. I think (he said optimistically) that camera sensors are covered with quite a strong protective cover, but I’ve no desire to test this theory and risk totalling my camera.
Oh, and one other tip. Make sure your monitor screen is clean. Otherwise you’ll spend ages trying to remove spots that aren’t there..
Every now and then I take an old camera for a walk. Well, it hasn’t any legs of its own. Today I took out one of my old Signa cameras. These are interesting because they use a Foveon sensor. Rather than having adjacent red, green and blue receptors and using software to interpolate their values and come up with colours, the Foveon sensor stacks red, green and blue receptors on top of each other. This means that the primary colour intensity values all come from the same place and it should make for a more accurate image. They do still look rather good.
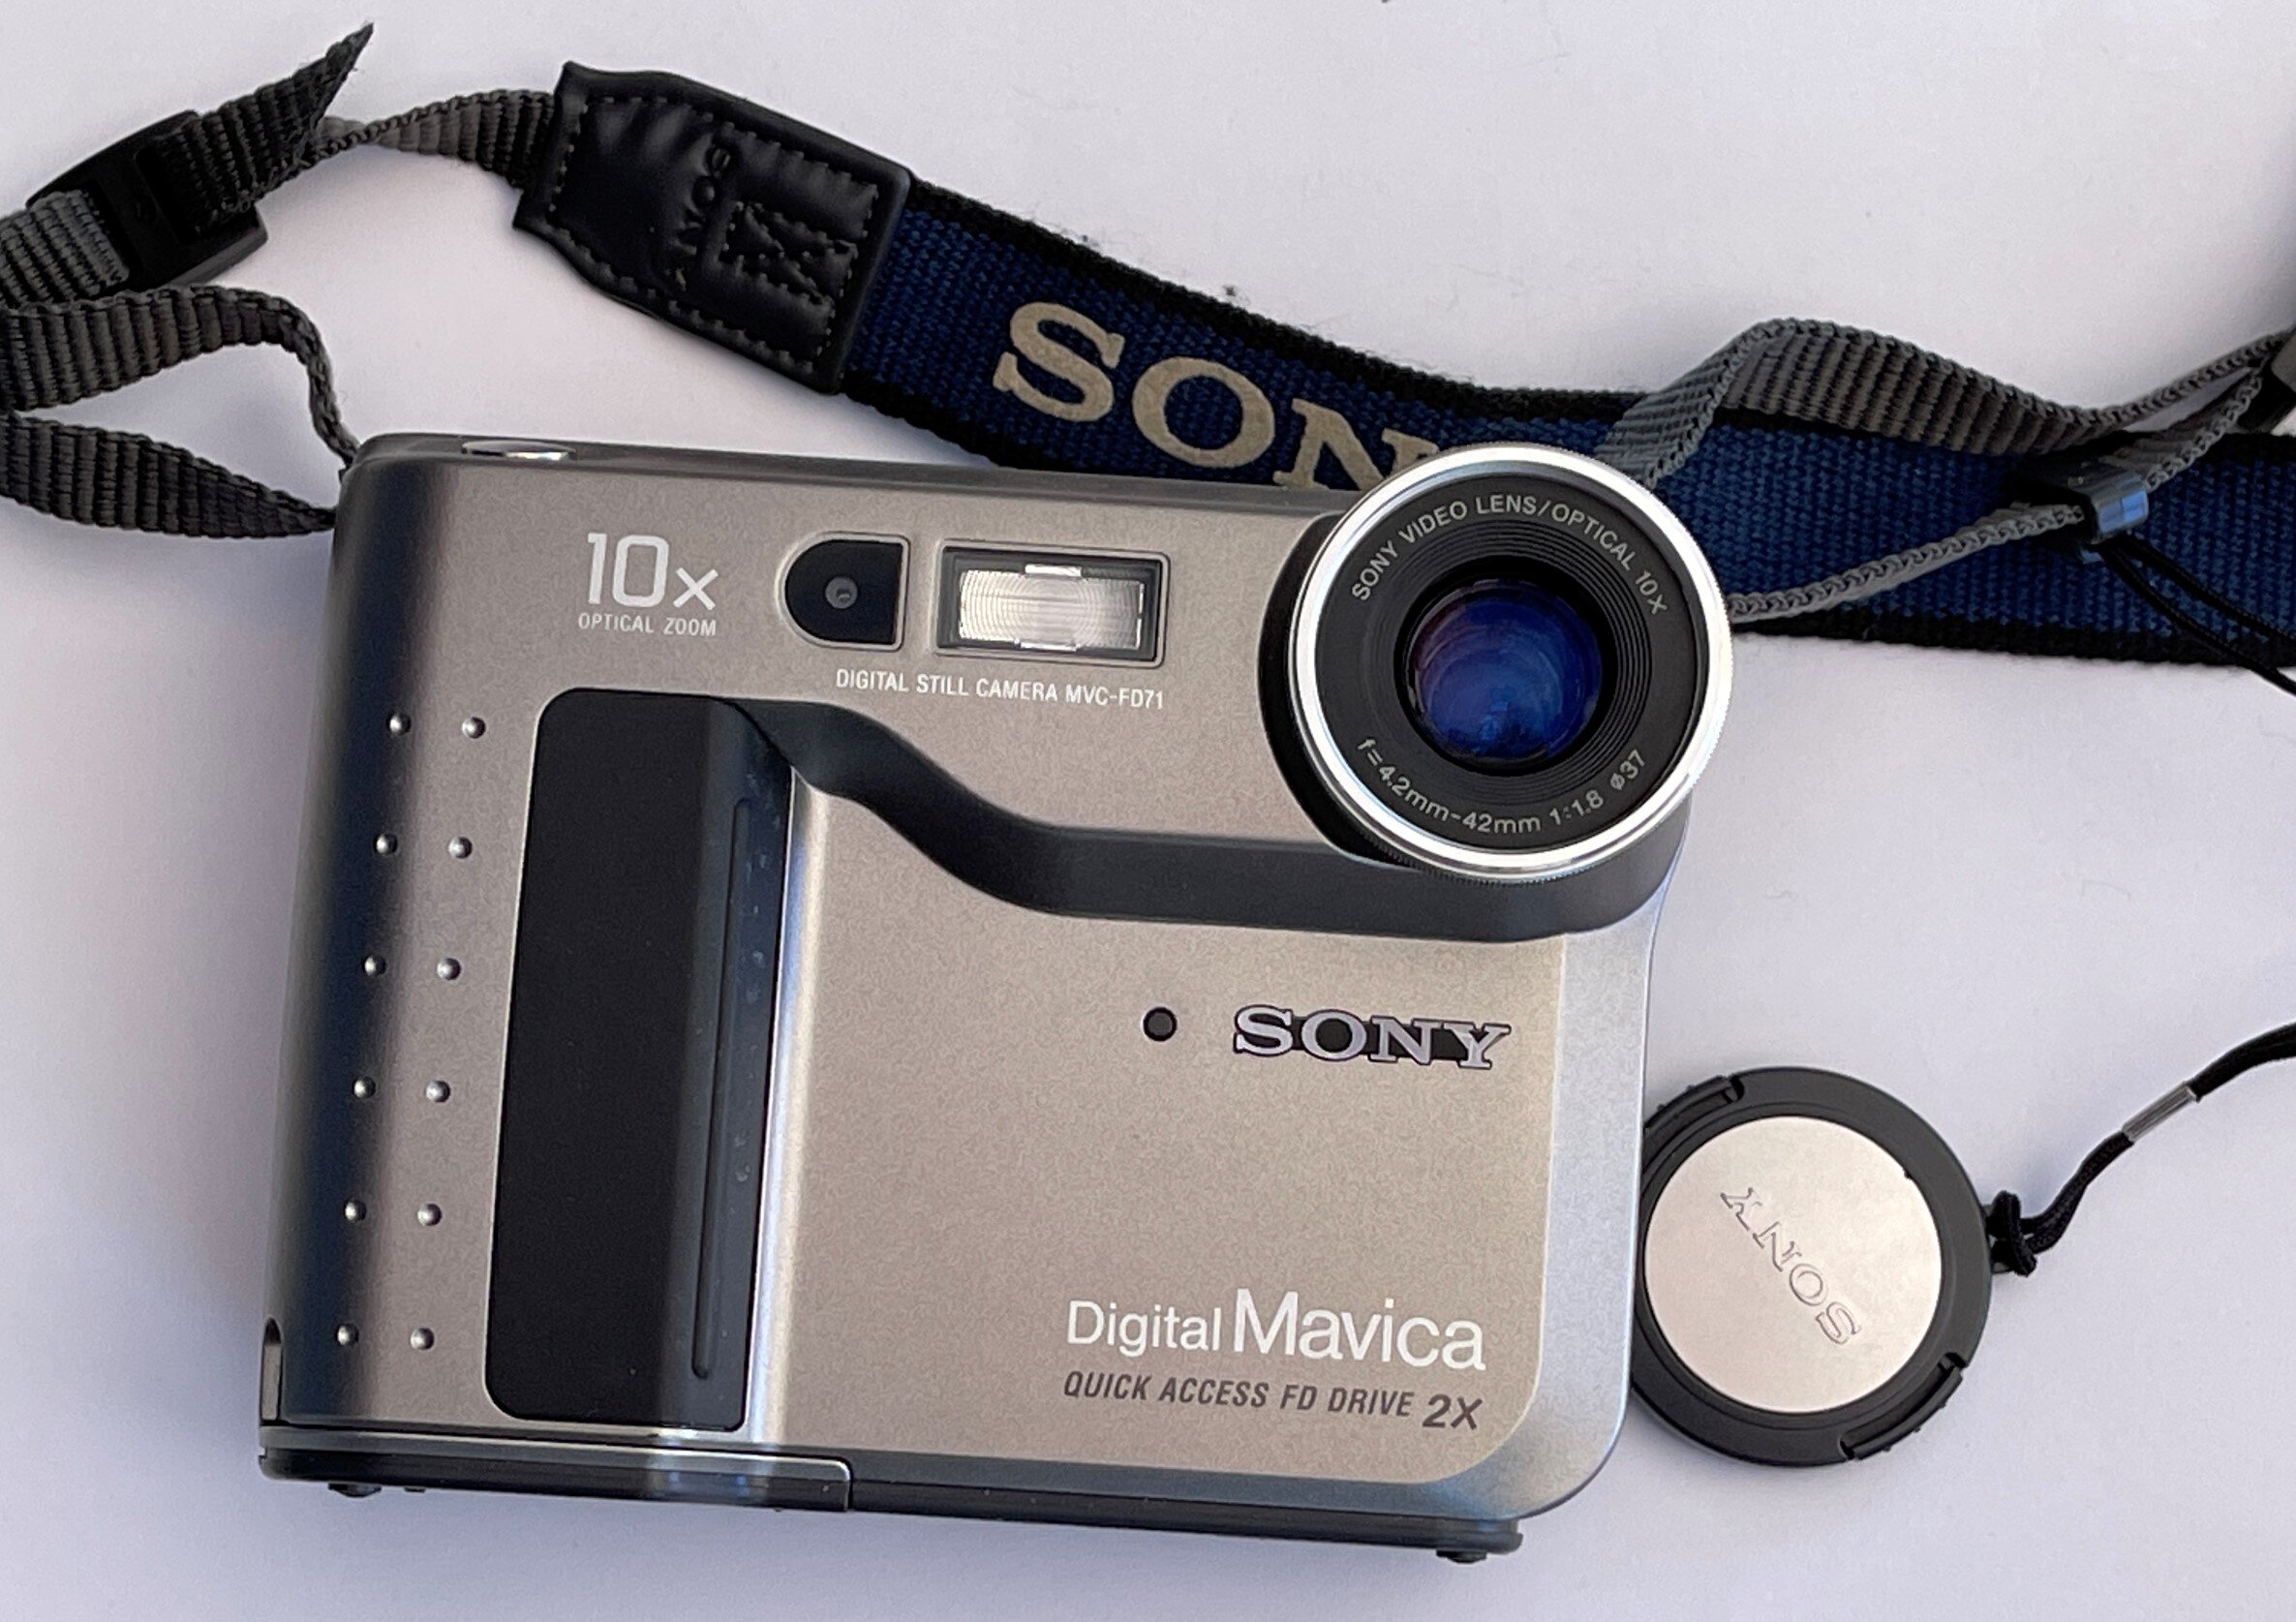
I’ve wanted one of these for ages. And now, thanks to the magic of ebay and the resilience of consumer electronics, I’ve got one. It’s a Sony Mavica and it cost me less than 20 quid, as opposed to the hundreds I’d have to pay back when it was released in 1998. And it works. Very exciting (at least for me).
It takes pictures onto a floppy disk. You can get around 12 or so pictures on one disk. The resolution is not great, but at the time this was amazing. Particularly as you could then just put the disk in your computer and read the pictures straight off it. The camera arrived today with the case and all the documentation. For a device that is over 20 years old it’s in fine fettle. Everything works and the battery seems to hold charge.
..and I’ve found a use for all those floppy disks I’ve been hoarding over the years. I’m really looking forward to taking it out and grabbing some pictures.
You do get some nice skies this time of year.
..because we can all use more pictures of leaves…
I took one of my old camera lenses for a walk today. It has the useful property of producing rather nice amounts of blur.
Further to my post on Wednesday, and with a 10% discount coupon from Ebay I have bought myself a camera strap.
Went for a walk today and took this picture. Which was rather nice.
I took this picture this afternoon. Who knew that butterflies were so hairy? If you want more detail you can click through the picture to the full sized image on Flickr.
I’ve always liked making High Dynamic Range photographs. These are created by merging several different pictures with different exposures. The idea is that the combined picture has a great range of light and dark. However, making the images can be a bit of a pain. You have to take three or more shots and then use a program to combine them. And if things in the picture move, for example a tree blown by the wind, you can get some annoying artefacts.
So yesterday I tried a simpler approach. I deliberately under exposed each picture to make sure that I captured the sky detail and then made the dark parts of the picture lighter using Lightroom. I’m quite pleased with the results.
Today we actually went somewhere other than upstairs. We went to Dalby Forest. This is one of my favourite places in the whole wide world and today it was on fine form. Plenty of room for social distancing and facilities that were the cleanest I’ve ever seen them. We had a smashing time. I took a lens that I got just before lockdown that I’ve been waiting to play with for ages. The weather was kind to us, with interesting clouds in the sky and I’m very happy with the way the pictures came out.
I’m starting to like the outdoors again….
Today’s task (we have tasks every day at the moment to keep ourselves sane - hope it’s working) was to take a picture of something small and make it look large. This was my attempt.
How many microseconds did it take you to figure out how I did it?
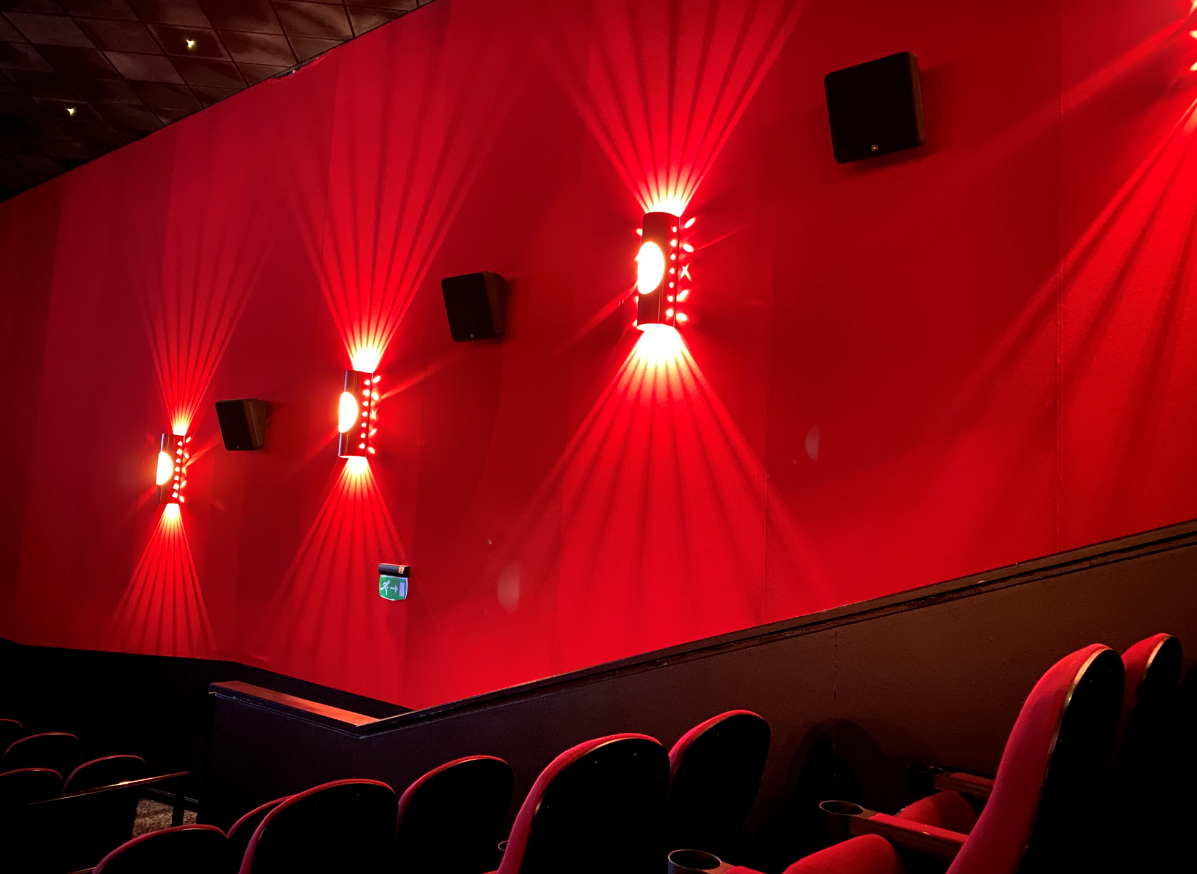
I took this picture with my phone in the cinema last night. I liked the look of the lights. I’ve got a proper camera, but I seriously doubt that it could have come up with a better result. Most impressive.
Took the camera up town yesterday. The mud was looking gud.
Rob Miles is technology author and educator who spent many years as a lecturer in Computer Science at the University of Hull. He is also a Microsoft Developer Technologies MVP. He is into technology, teaching and photography. He is the author of the World Famous C# Yellow Book and almost as handsome as he thinks he is.
Begin to Code with JavaScript is now available for purchase and download. You can find it here