Head Crashing

I’m making a new device. Can you guess what it is? Today I tried to print out the top plate. I hadn’t used the 3D printer for a while and it shows its displeasure with this by ramming the print head into the bed. I think the probe in the BL touch sensor (which is how the printer knows where the bed is) had got stuck.

After a fevered few minutes resetting the print height I managed to print out a reasonable version only to discover that the big hole (which is for a big button) was way too small. Oh well. There’s always tomorrow….

Unexpected art

broken design.jpg

Sometimes your failures are more interesting than your successes. I’ve been doing some work to design a new music controller based on the cheesebox, but adding rounded corners. There are lots of ways to make rounded corners, FreeCAD even has a command called “Fillet” that will do this for you. But I thought I’d do it the hard way, which involves cutting off each corner and replacing it with a cylinder. You can see the results of my first attempt above. I think it is quite artistic. And hey, one corner correct out of four isn’t a bad score..

workingdesign.jpg

This is the final version. There are four controller rings with lights, and a button grid and controller on the bottom. The only problem with this design is that it won’t fit on the printer bed………

final design.png

This is the final, printer friendly, design.

20210927_083238347_iOS (2).jpg

..and this is after it has been produced by two friendly printers…..

Wrong Sized Holes

wrongholes.jpg

This is the top panel for a new creation I’m working on. I want to make a pixel ring surrounded by pushbuttons. So I added a pushbutton button ring element to my design program and then printed it out.

Of course, after a two and a half hour print I then discovered that all the button holes are too small. You can see in the picture some of my attempts to make the holes bigger, but PLA (which is what I printed it in) is horrible stuff to work with.

Moral of the story: If you’re printing things with holes to fit other things into, perform a tiny test print with just one hole to make sure the size is right before you go and print the whole thing.

Una Reborn again

newhead.png

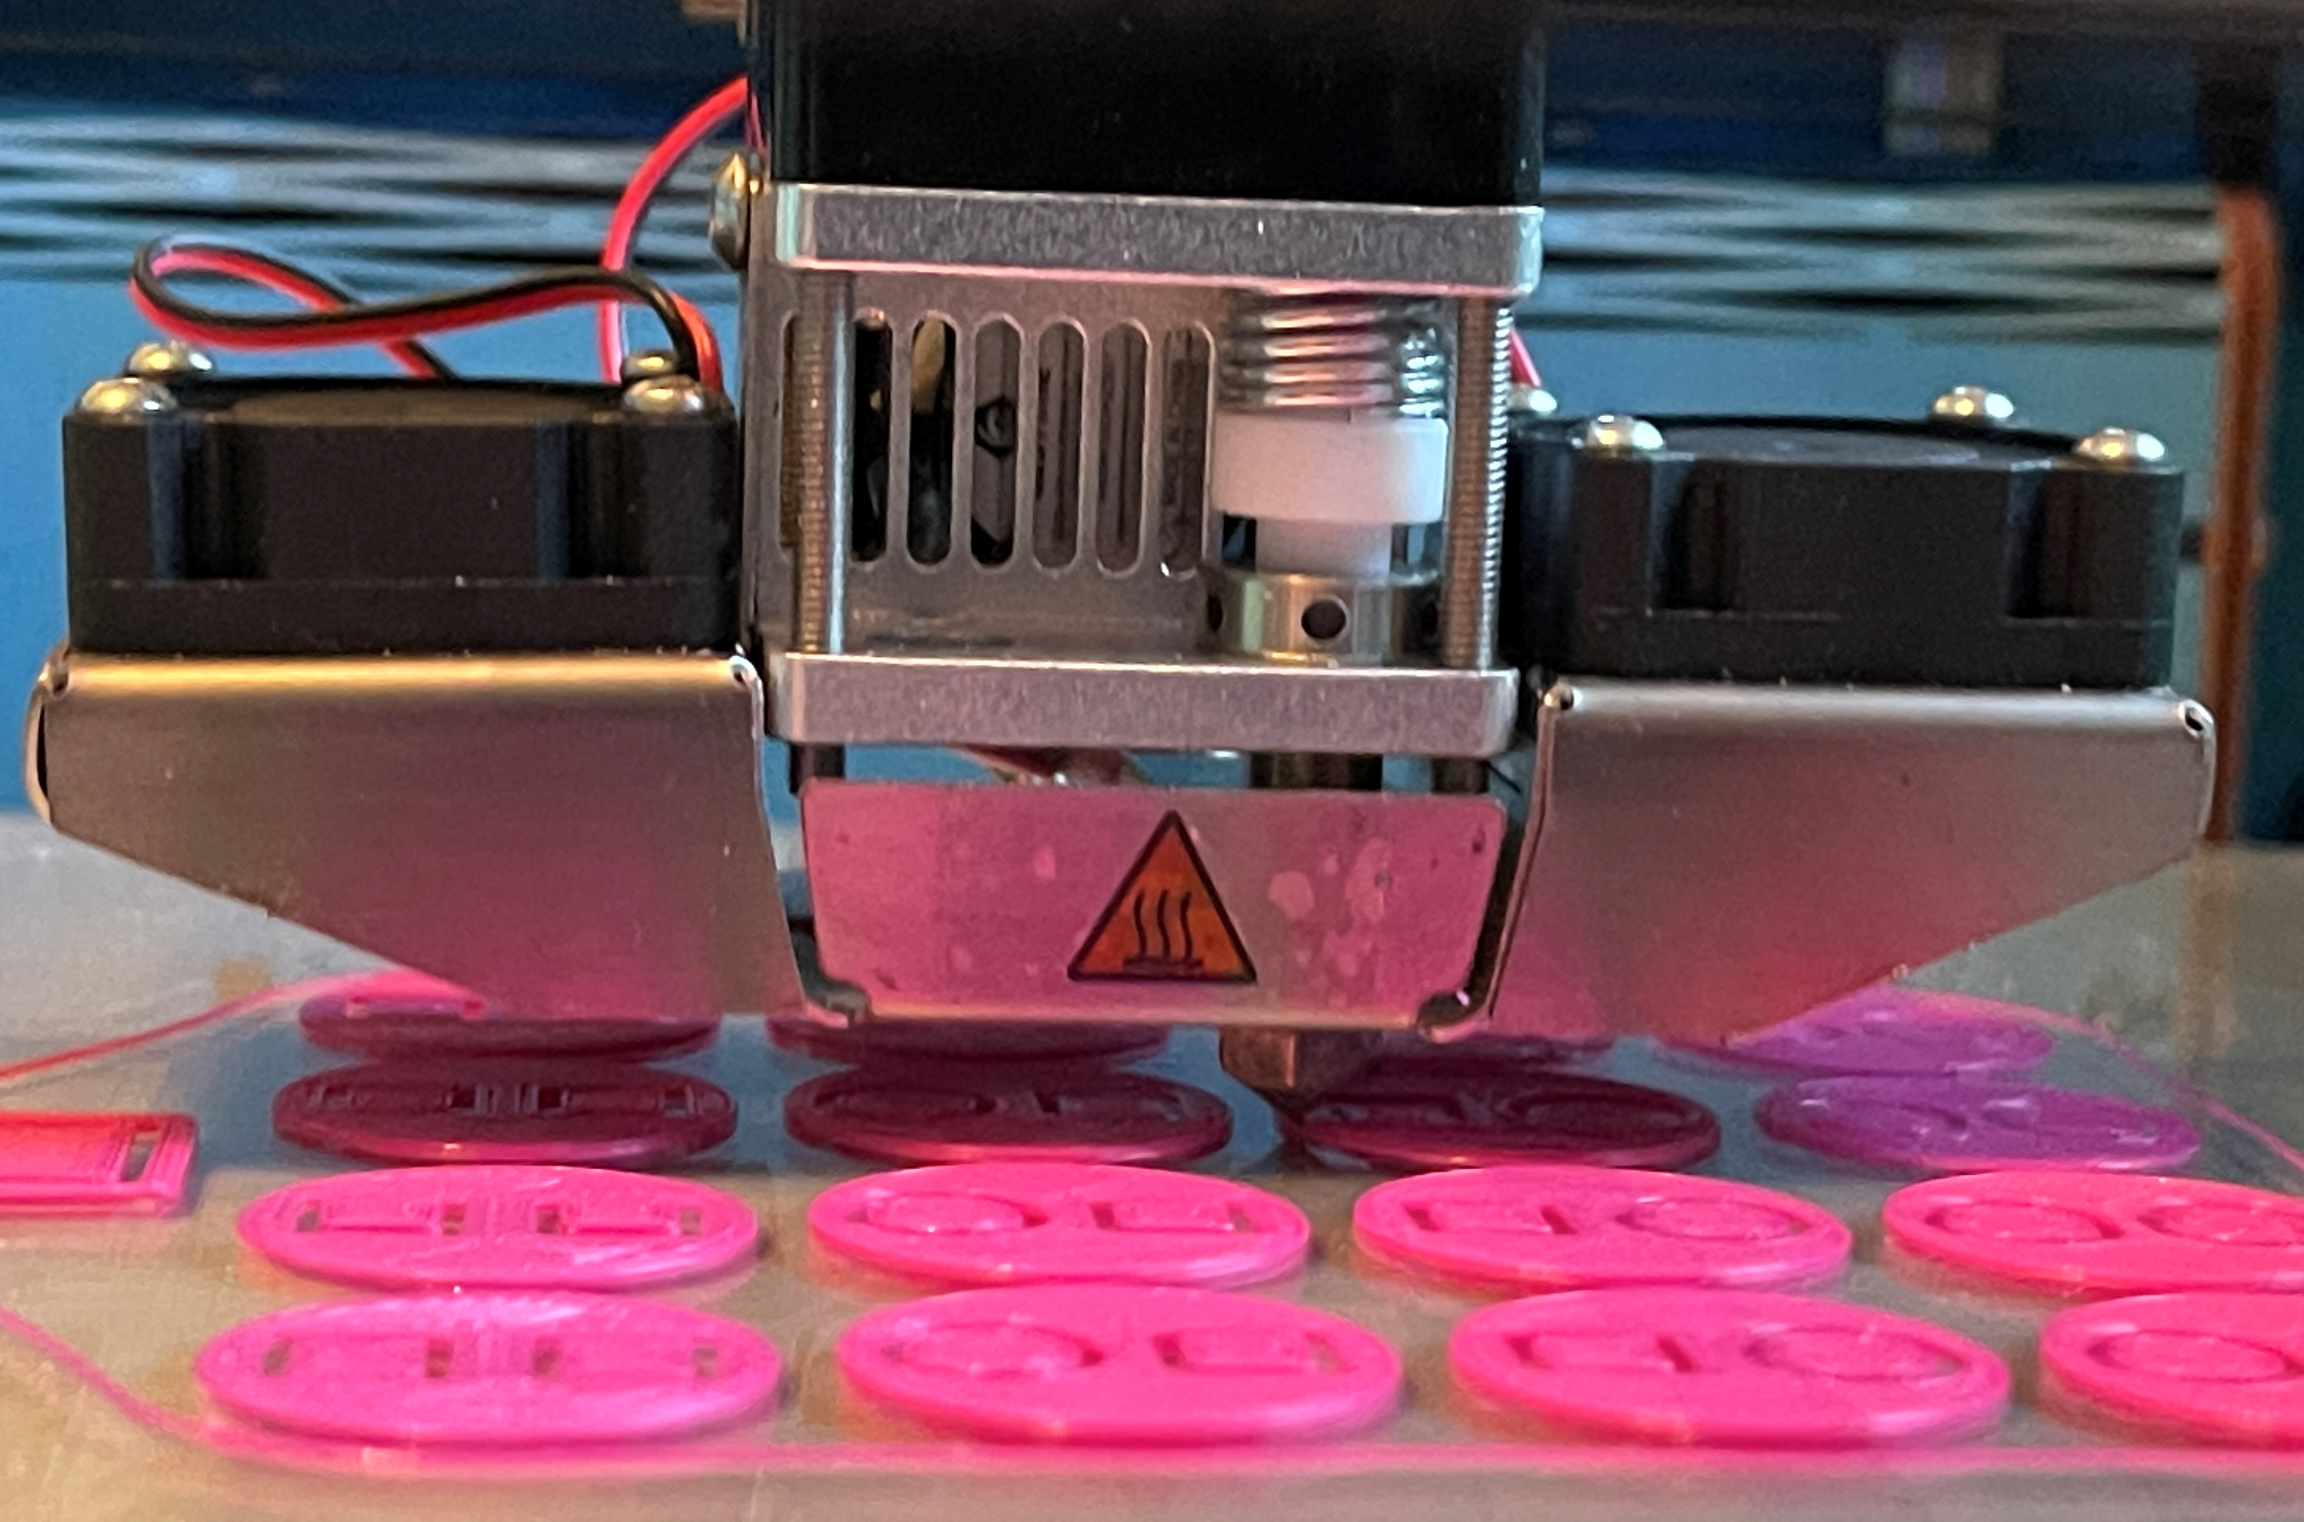
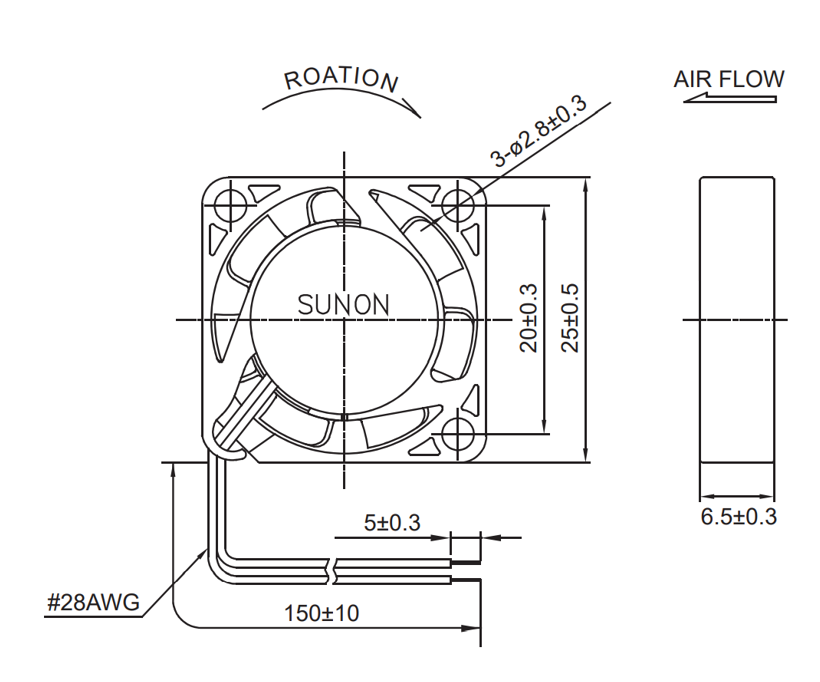
The tiny little fan for the print head for Una the Ultimaker arrived today. You can just see it behind the grille in the above picture. I’ve rebuilt everything and I’m printing with it. Expect to see an anguished post in a couple of days about how everything has broken again.

Update: Sooner than you think. The above print failed because some of the items came loose. I’m going to clean the print bed properly and double check the level…

Non-Fun Gibbon Tokens are now a thing!

NFT.jpg

Non-Fun gibbon Tokens now a thing.

They are a horrible pun (on non-fungible tokens) made 3D real.

Thanks to the efforts of Geoff and Derek who supplied the line art plus the InkScape and OpenSCAD tools you can now have the ultimate in slightly unique art.

Prints a treat. They are quite big in the STL files, but shrink then down to 30% size in Cura and you get something which is printable and retains detail - but check with the preview mode first to make sure that none of the lines in the design have been missed.

If you like them (and why wouldn’t you) lob a donation my way for Comic Relief here.

Battle Tags - a 3D print and play game for Red Nose Day 2021

A multi-coloured set of Battle Tags

A multi-coloured set of Battle Tags

If you want to use your 3D printer to have fun, make nice things and earn cash for a fantastic charity then you’ve come to the right place. You can print yourself a set of Battle Tags from my “Tags of Fun” designs and then challenge other tagsters (as I’m calling them) to a game of skill and bluffing. You can find all the files for the game here.

Click the image to get a PDF of the rules

Click the image to get a PDF of the rules

If you like the game you can donate some money here. If you hate the game you can donate twice as much money here because you’ve just hurt my feelings.

Daring filament swaps

What do you do when you are just about to join in a networked game of pass the parcel and you discover that your 3D print job is just about to run out of decanted filament? I’m sure this is a problem that we have all faced from time to time.

Anyhoo, for me the solution was to pause the print from OctoPrint, unload the filament and replace it with a full roll and then resume the print again. And it worked. There was a bit of a blob on the print where the printer head had loitered for a few minutes but this is on the inside and not visible as it turns out.

So the lesson is that if you do notice that your filament is running low it is is possible to swap to a different reel during the print job. Just make sure you do it quickly.

Filament Decanting

filament decanting.png

Turns out that filament decanting is a thing. I’ve been 3D printing and I’ve just had a print fail after 5 hours because the filament didn’t unwind smoothly from the reel and got stuck. So my print had a 2 mm high section that just wasn’t there. Wah.

So this morning I spent some time winding filament off the offending role and onto an empty one. This works a lot better. It’s a pain to have to do this - I blame the way that the filament was originally rolled onto the reel, but at least it means that my prints get all the way to the end.

Una Reborn

I’ve found another use for a 3D printer. You can use it to print spare parts for your other printer which is broken. I used Edna the Ender to print out the replacement fan ducts and also the rather fancy Bowden tube holder you can see above for Una who broke recently. I’ve re-assembled the print head (again) and this time I’m much more confident that Una will be back to her old self. The main reason for my confidence is that I think I’ve solved a problem that I’ve had for ages.

If you look at the picture above you’ll see that the print head (the brass part you can just see above the orange material that I’m printing) is tightened right up against the heater block (the shiny aluminium part). Previously, for reasons that must have made sense at the time, I’ve had the nozzle hanging down from the heater, which has meant that the heat from the heater block has only a small area to travel down to the nozzle. I think the result of this has been that the nozzle has been quite a bit cooler than the heater block, to the point where I’ve had to increase the print temperature just to get molten filament through it. With this new arrangement I’m printing successfully more than 10 degrees cooler than before. And it works a treat. Una is now producing stuff that is really good, very close to the quality of Edna.

So, if you are building a printer, make sure that the nozzle is as tight up to the heater as you can get it. That way it will spread the heat around properly.

Broken Printer (again)

brokenuna2.png

I think 3D printers exist in one of two states, they are either broken or not broken yet. I thought I’d print some “Obstinate Orange” filament in Una so I swapped out the rather nice pale blue I’ve been using for a while.

Una doesn’t like “Obstinate Orange”. It seems to have blocked her print head. I think this is because when I re-assembled things last time I left a tiny gap in the path the filament takes to the heater block. This tiny gap now holds a plug which has blocked things up.

It’s annoying because Una has been printing some nice boxes and cases. Oh well, I’ve got some more replacement parts on order, I’ll see if I can put things back together in a better fashion next time.

Printing Lithopanes

The 3D printed image

The 3D printed image

What it looks like

What it looks like

A lithopane is a 3D printed surface in which the thickness of the object reflects the brightness of the image that that point. I’ve done a bit of this kind of thing myself in the past with the Kinect sensor and so I thought I’d try some with the new printer. I used a web based service you can find here which takes an image and provides you with an STL file you can then slice and print. I had a go and I’m very impressed with the result. It’s quite something when a lumpy bit of plastic suddenly turns into a proper picture.

If you want to have a go (and if you have a 3D printer you should) make sure you check the options to select a Positive image. I forgot this vital step and ended up with a negative image after four hours of printing.

Printing Pocket Operator Cases with Edna

Pocket Operator cases.png

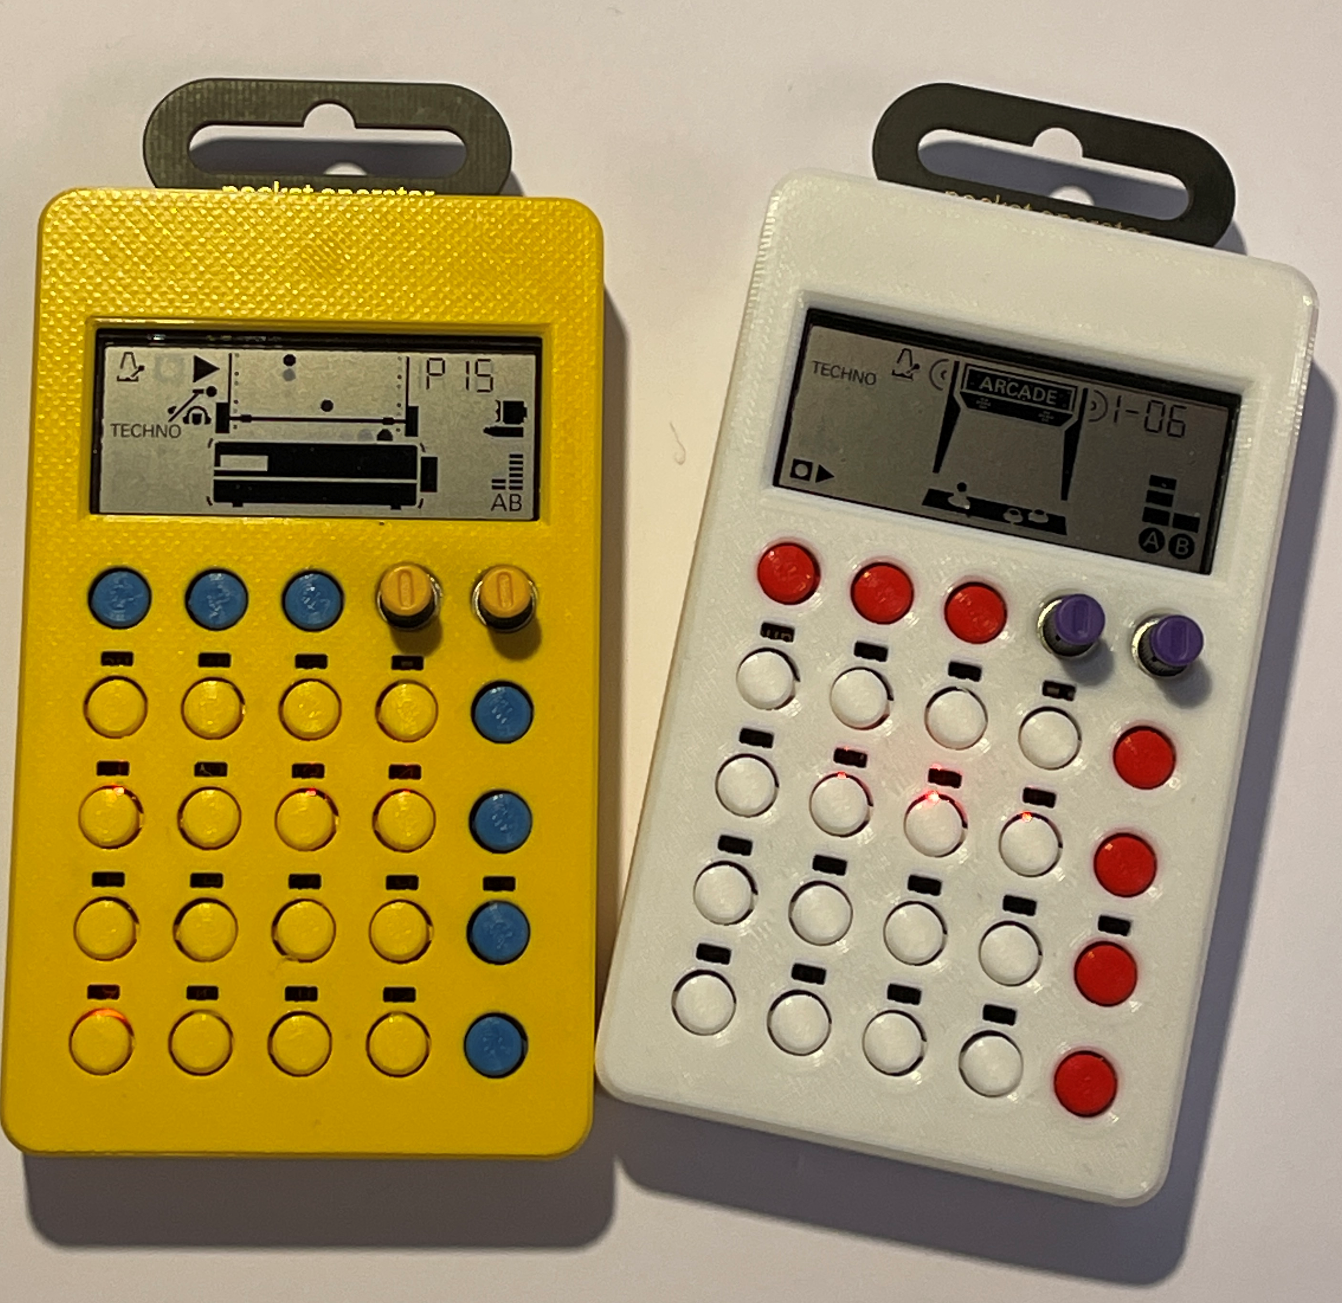
I’ve always had a soft spot for Teenage Engineering Pocket Operators. They are great fun to fiddle with. One of the reasons why I got another 3D printer was to print out cases for them. They are supplied as just a bare PCB with components soldered on and I wanted something with a bit more substance.

It turns out that Edna does a very good job of printing the cases and the buttons from this design. The printer has a textured glass print bed with makes for rather a nice printed finish.

Say hello to Edna

edna.png

I’ve had a 3D printer around the place since 2012. A couple of weeks ago I got my second one. The decision was driven by the results that I’d seen it was capable of, and the unhappy realisation that I would never be able to get my Ultimaker to print to the same quality.

Una star.png

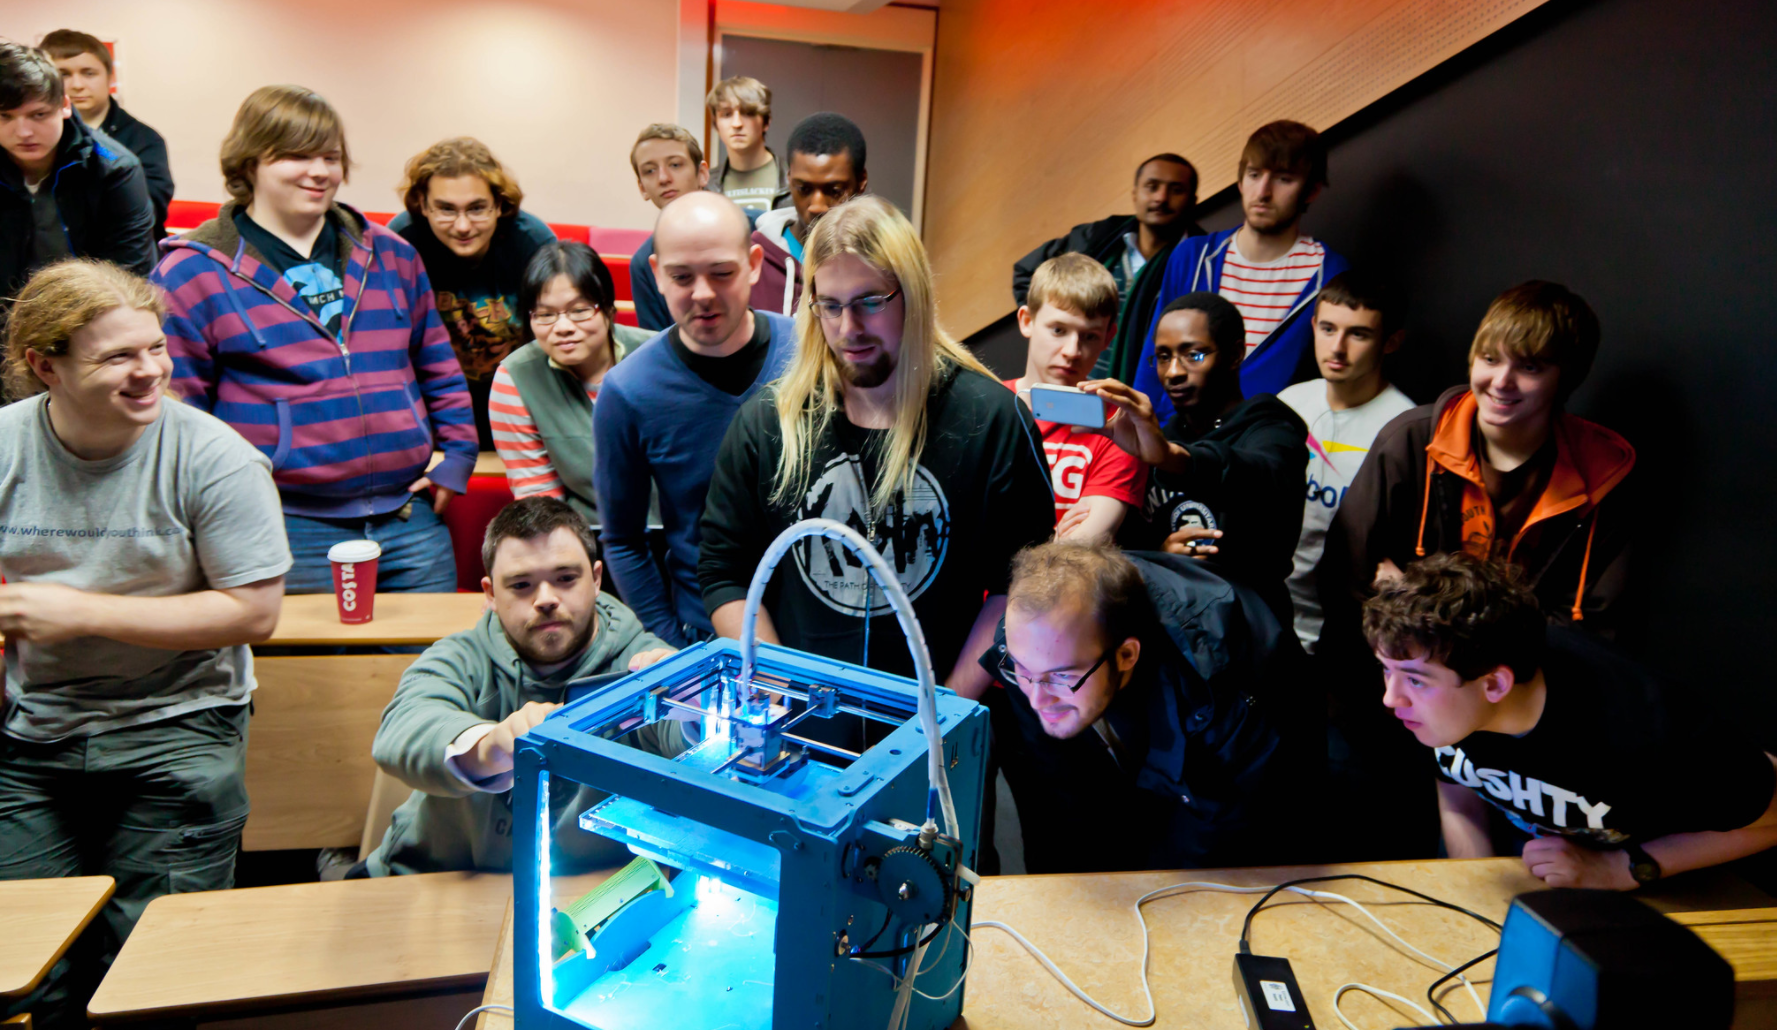
This is my favourite picture of Una my Ultimaker original. I took it in 2012 when I Una and I delivered a seminar about 3D printing. I think the image has a touch of “adoration of the magi” about it.

Anyhoo, time moves on and although Una still works fine (she’s printing something at the moment) I’ve not found a way of persuading her to print fine detail. This is almost certainly my fault. I’ve had several goes at rebuilding the print head but never managed to get the output as good as I now know is possible with one of these devices.

“Edna the Ender” is an Ender 3 Version 2 with the Bltouch auto levelling. She prints very quietly (although she does have noisy fans). She was quite easy to assemble and has produced some very nice prints “right out of the box”. I’m looking forward to finding out what else she can do.