Bluetooth MicroWriter keyboard in the works

A while back I made a MicroWriter keyboard which lets you input text by entering chords on six input keys. It worked very well, but it emulated a wired keyboard. Now that the Raspberry Pi PICO can now talk Bluetooth I’ve started working on a wireless version. I’m going to have a go at designing my own PCB for it. I’ve bought some sockets for the keys. And some keys.

My original keyboard code is written in Circuit Python but there is no Python support for Bluetooth on the PICO just yet. My plan is to convert the code to C++. This shouldn’t be too hard. Most of the work is in the character decoding arrays.

Yet another camera

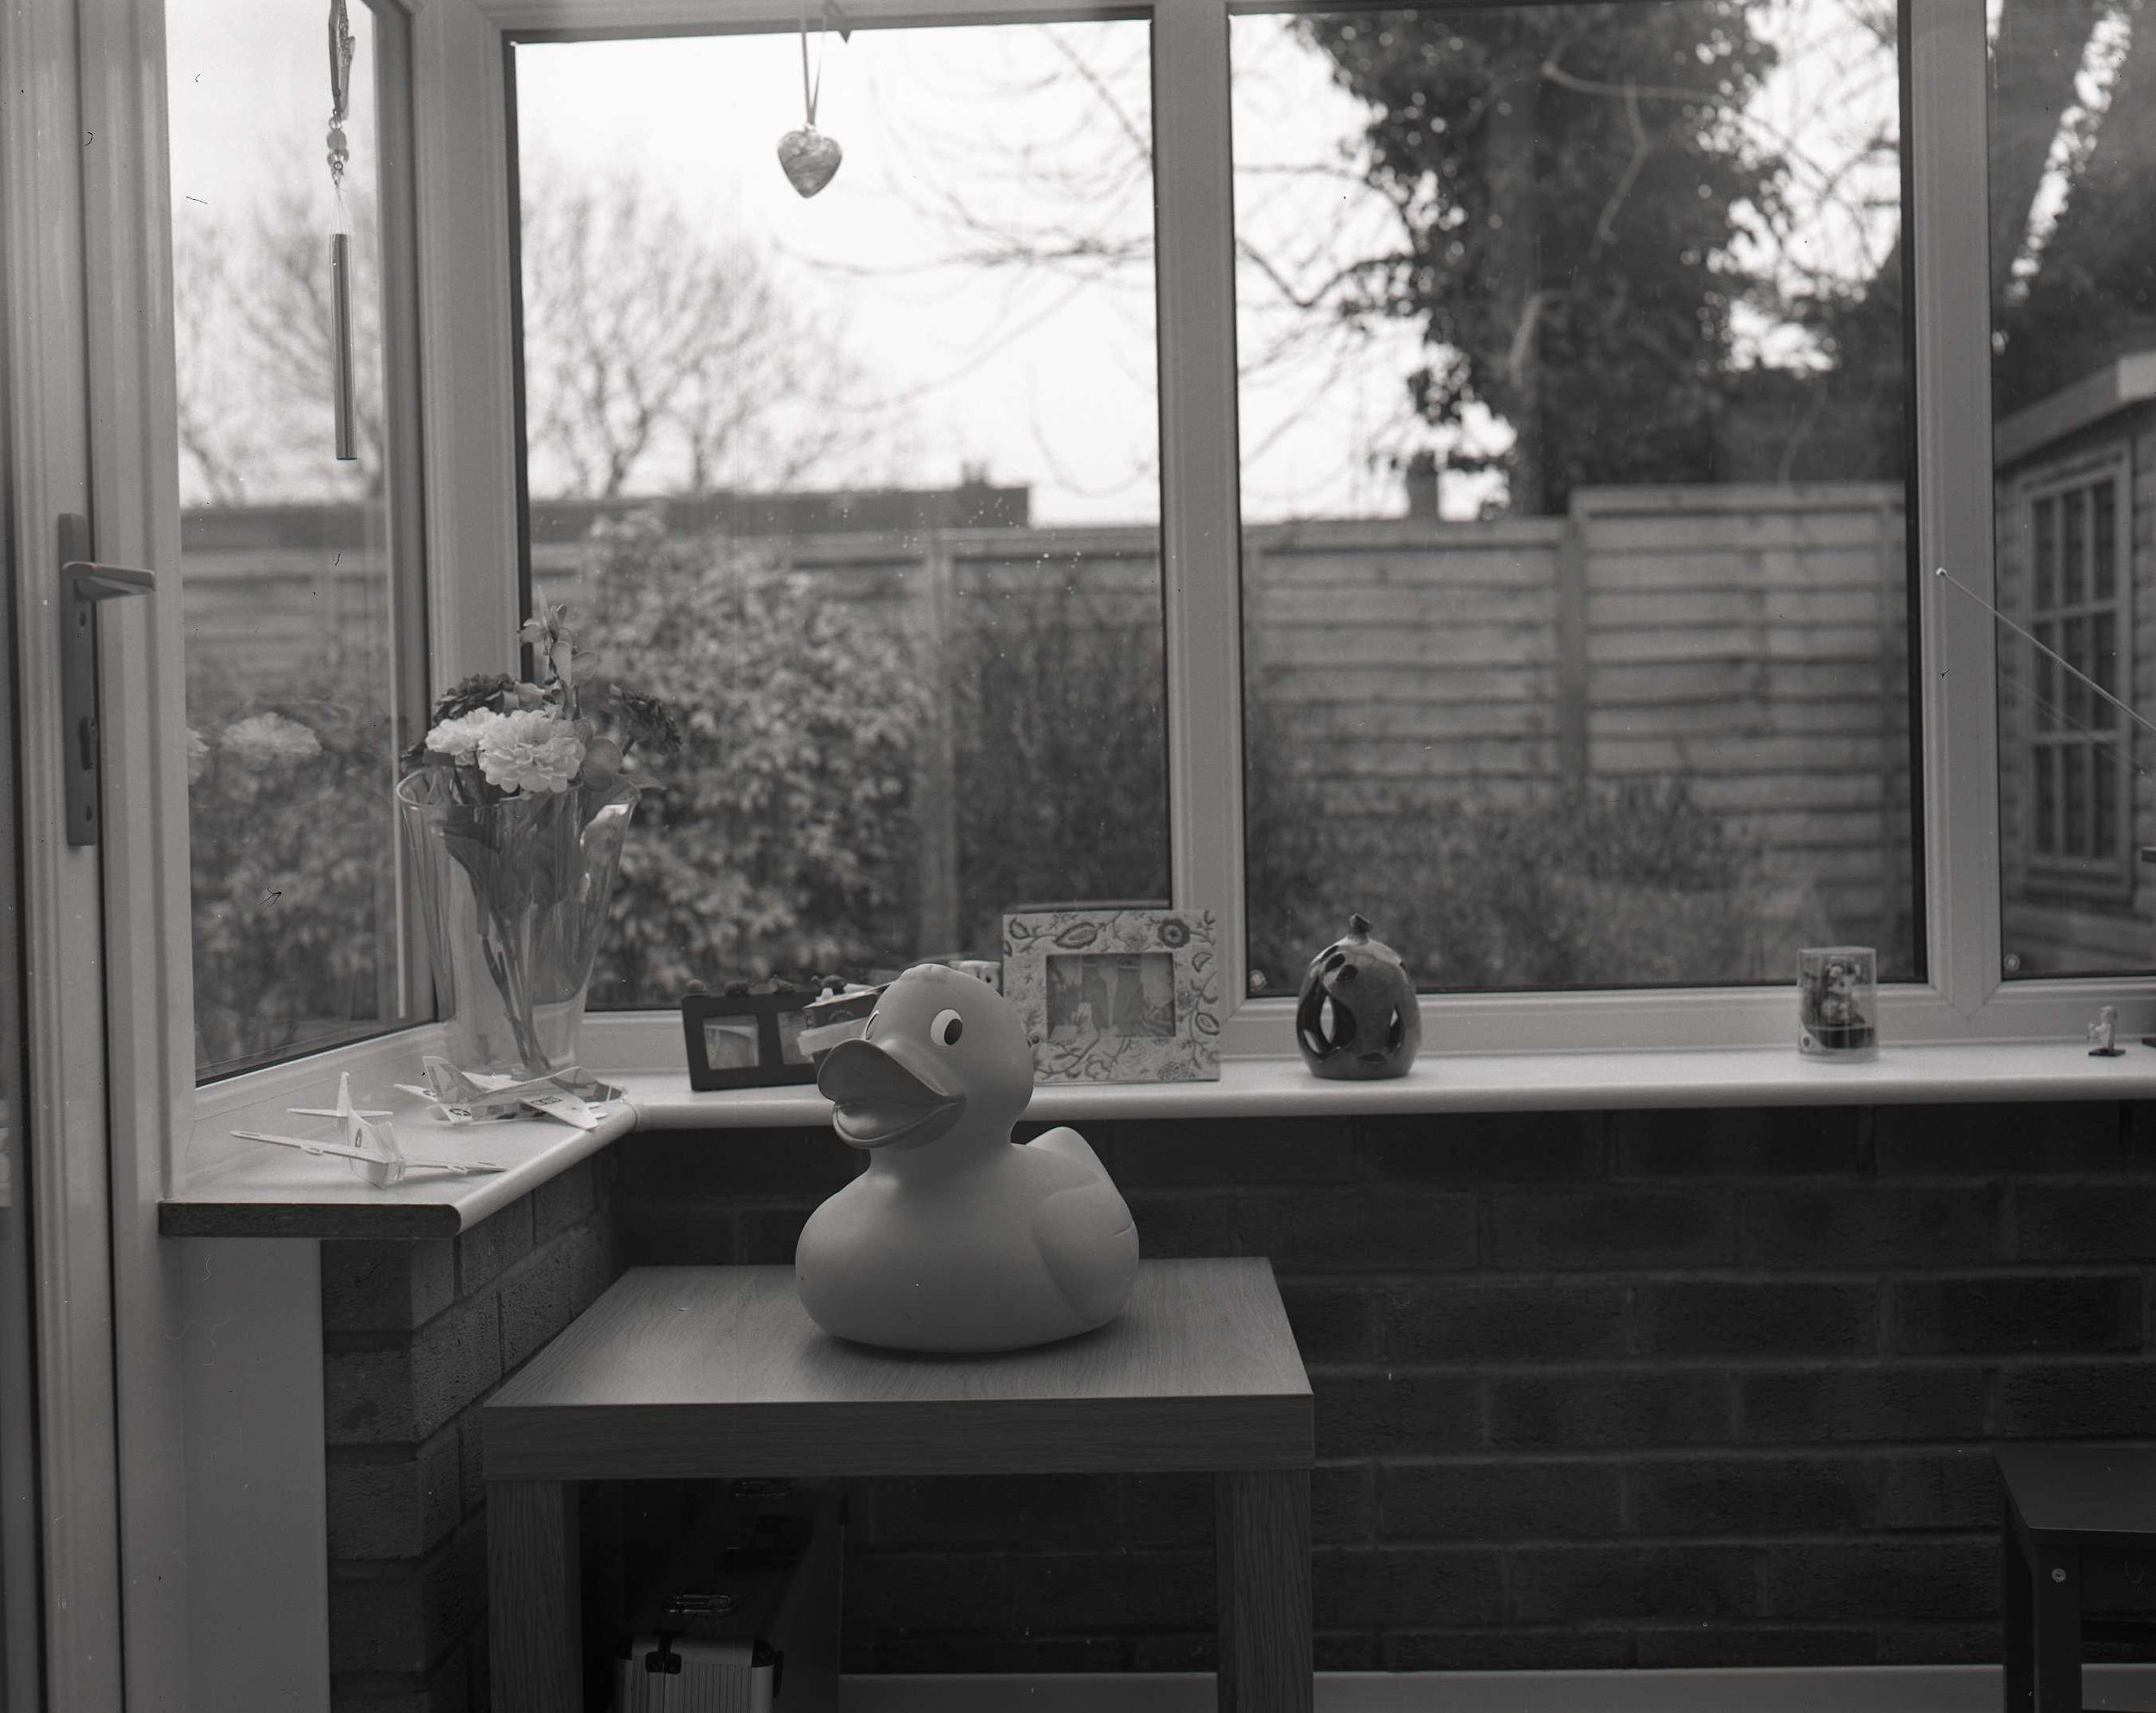
I’ve invested in another camera. Well, I say invested. I won’t find out whether or not it was an investment until I try to sell it again. Which, given the quality of the pictures it produces is not going to be any time soon. It’s a Kiev 60 which takes medium format images on 120 roll film. I can develop the pictures at home (as I did the one above).

I think they had two production lines in the factory. One made tanks and the other the Kiev 60. And sometimes they got the parts mixed up. It is a huge device and somewhat heavy. Everything works (which is something of a rarity for this particular brand) and the combination of large negative size and old-school lens design makes for some lovely out of focus effects. I’m going to enjoy carrying this around and taking some pictures over summer. But I may need to get in some weight lifting training first.

The worst kind of bug

The worst kind of bug is the one which is not there. I spent a big chunk of today trying to figure out why MQTT settings weren’t being transferred correctly from the server into my embedded device. The idea is that you plug a brand new ESP8266 or ESP32 powered device your computer, visit the Connected Little Boxes website and all the firmware and settings are loaded into the device automagically. It was working fine with test messages, but not when I tried to use it to actually connect a device.

I built more complex tests, added diagnostics and still the system didn’t work. I was getting more and more confused until I realised one of the messages that I was sending had the wrong thing in it. In other words the transport mechanism was fine but because of a formatting error the setting wouldn’t work in the device. Silly me.

I’m not too unhappy though. The code is now a lot more tested than it was, and it has some diagnostic output which will be useful at some point. And it does indeed work now. The only thing you have to do is enter your WiFi credentials into the webpage so that the device can connect to the network. The device is configured and then added to the list of devices that you own. The next step is to add configuration pages for the internal device interfaces so that owners can make them into lights, buttons, dials, inputs, displays or whatever.

Bins and Binnability

The new kitchen bin arrived today. The old one broke and the type of replacement was the subject of some heated discussion. At one stage I said “But I’m not sure any of these will do exactly what we want” to which the reply was “But at the moment we don’t have a bin”. Fair point. It is always important to remember that with some things, including bins, the perfect is the enemy of the good.

We got the new bin out of the box and put it in the kitchen. It’s perfect.

ChatGPT and my existential crisis

Last week I discovered that ChatGPT can write “In the style of Rob Miles”. I’m not sure if it will do this for everyone. The internet creates bubbles of personalisation so that our searches find the kinds of things that we like, and perhaps ChatGPT does that too. Perhaps if you ask for something “in the style of Rob Miles” you’ll get the version that fits with your interests. Even so, ChatGPT knows about a version of me.

ChatGPT knows me because I’ve been blogging and posting stuff for over 20 years. There’s a lot of Rob on the internet. Although I must admit that all those years ago when I decided to put up a blog post every day I didn’t think that it would be a step on the road to creating a computerised copy.

It is a tiny bit worrying. Do I need to exist any more, now that there is a freely available version online? People have been known to pay me to write things “in the style of Rob Miles” but now anyone can do it. Where will this lead? Folks might get ChatGPT to write horrible things in my style. Even worse, they might get paid instead of me. When I put my blog up I don’t remember ticking a box that said “I allow companies obsessed with shareholder value to mine this data and use it to create machines that can imitate me.” Oh well. Welcome to the modern world. It is a form of immortality I suppose. At least until ChatGPT finds a better Rob Miles

Meet Thursday Next

Today all I’ve felt like doing is sitting and reading. I’m revisiting a series of books I first read years ago, and I’m enjoying them just as much second time round. They are by Jasper Fforde. They are about a time travelling crime fighter who can also go and live in books. She’s called Thursday Next (all the character names are fantastic) and she lives in a parallel reality (I probably should have mentioned that first).

Anyhoo, the books are a riot and incredibly clever. If you are missing Douglas Adams or Harry Harrison you really should take a look. You can find the first episode here. Jasper Fford also has a splendid website (all hand coded by the author in HTML - respect) which you can find here.

Coding with Covid

I had lots of plans for the next week or so. None of which included catching Covid. But there you are. Apparently there is a lot of it about at the moment. I’m the only person in the family who has tested positive so far, which means that I’m confined to upstairs and can only eat things which can be slid under the door. Fortunately I like pizza. The good news is that I’m getting a lot of code written at the moment.

Spintronics and Tagjousts in HackSpace Magazine

This month’s edition of HackSpace magazine is now out. It’s in the shops, or you can find it here. It’s contains a review wot I wrote of Spintronics. I’ve also made it into their Toys & Games item with TagJousts.

The magazine is, as always, a great read. There is nothing else on the market which has such a broad coverage of interesting stuff, from detailed descriptions of hardware and software projects to 3D printed guitars.

3D Printing at an angle

Followers of my blog (yes, that’s both of you) will have been observing the fun and games I’ve been having trying to print a handle for my 3D printed camera. The problem is that if you print the handle vertically there is only a small surface in contact with the print bed. As the printing gets higher the print head becomes more and more likely to push the workpiece off the print bed. When it does you get a tree.

I tried printing with the handle flat on the print bed, but that caused other problems. There is a large open gap for the cable release that runs the length of the handle. This can’t be printed without extra support and the support material proved impossible to remove. I ended up with a handle that was solid all the way through So, in the end I tried something I’ve not done before. I tipped the whole workpiece by 45 degrees. This removed the need for any internal support.

Above you can see how it works. The gap in the middle of the handle doesn’t need support and there is now a huge area of the workpiece in contact with the print bed so it grips really well. It worked a treat. The support came off very easily and left a surprisingly smooth finish all over the handle

If you’ve got something that needs internal support you might like to try the same thing. I used Cura to slice the model and the print preview (you can see it above) to check for any overhangs.

This might be a good technique for printing very small things, as it provides a larger base. It also removes any problems with the workpiece lifting up from the bed on the corners, which can be an issue when you try to print large objects.

Using Bolt Inserts in 3D printed objects

I assembled the 3D printed camera today. I used the fittings I got last week. It turned out to be quite straightforward. I popped the special tip on the iron and set the temperature as low as possible (200 degrees). Then I picked up the fitting with a pair of pliers, popped it on the end of the tip and pushed the fitting into the hole in the 3D printed camera body.

Above you can see the result. I can now screw a bolt into this fitting to hold the lens in place. This is a really great way to screw things together. I’ve had a lot of success just using bolts in 3d printed holes, but this should be stronger and won’t wear out if I need to remove and replace the bolts.

This is the finished fitting in place with the lens attached. It turns out to look quite tidy. Next thing to do is make the handle and then take some pictures.