SyncToy and Drive Letter Setting Fun
/At the end of the year I have to go through my marathon photo tidying up session. I keep all my writings and other important stuff on SkyDrive, Live Mesh and DropBox but there is just not room in the cloud for all the pictures that I take. And so this is the time when I go through the pictures directories of all my various machines and pull them all together to make a final, definitive set of all my photos that I can copy across a bunch of hard disks.
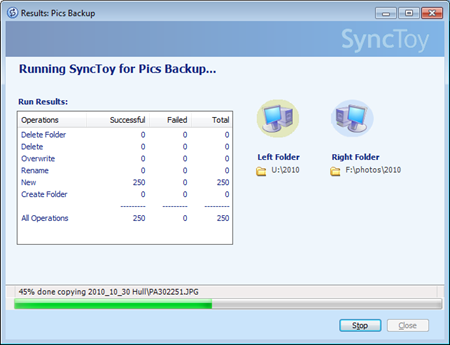
And when I’m doing this I find SyncToy very useful. I can use it to bring together files from lots of different disks and also make sure that two disks hold exactly the same set of files. It doesn’t seem to mind being pointed at directories that hold many gigglebytes of files and I can just leave it to get on with the work.
Oh, and when I’m using external drives I find it very useful to be able to make sure that when I plug the drive in it gets exactly the same drive letter each time. You can do this using the Disk Management tool. Open up Control Panel and then for “Disk Management” Then open the scary “Create and format hard disk partitions” option to bring up the Disk Manager tool:
Select the drive that you want in the list of volumes and right click it. Then select “Change Drive Letter and Paths..” to bring up the Change dialog box.
Then click Change and nominate the letter that you want to use in the combo box on the right:
Once you have done this you just click OK down all the menus and, presto, your drive has the letter you chose. And even better, the letter is remembered for next time you plug the drive in. Great stuff.


