Got my PICO W

My PICO W devices arrived today. They look really nice. I’ve soldered a bunch of pins onto one of them and plugged it into my PICO Display Pack with the intention of making a tiny wireless message board. Unfortunately the Pimoroni image with the drivers for the display on it doesn’t support WiFi just yet. I’ve tried using this library with the WiFi enabled Micro Python firmware but I can’t get it to work. With a bit of luck Pimoroni will catch up soon and I can make something that displays a message each time I make a new blog post….

Raspberry Pi PICO W brings Bluetooth and WiFi to the PICO

The shiny box is the wireless antenna

The Raspberry Pi PICO is an awesome device. Super cheap, super easy to program and super easy to connect to stuff. The only thing about it that I didn’t like about it was the lack of any wireless connectivity. That’s changed now, with the launch of the PICO W. This adds a Infineon CYW43439 wireless chip to the PICO which brings Bluetooth and WiFi connectivity. The new PICO W is physically compatible with the old one. The pins are pretty much the same, although three of them (ones you don’t use much) are now accessed slightly differently.

At the moment there are no drivers for Bluetooth and you can only use the WiFi from Micro Python programs (not C++ or Circuit Python). But I expect that to change pretty quickly once folks get to grip with the device.

There’s a really good description of the new PICO W plus sample code in this month’s MagPi magazine which you can find here.

Linking a Raspberry Pi 4 and a PICO over a serial connection

I want the Pure Data patches in my Chocolate Synthbox to be able to display lights that flash in time with the music. The lights in question are a bunch of neopixels connected to a Raspberry Pi PICO which is handing all the inputs and outputs for the device. I’ve done this to keep the design simpler and to remove any chance of issues with the sound code on the Pi interfering with the pixel animations.

However, to make it work I have to connect the Pi and the PICO together. Both devices have plenty of serial ports, so the best way is just to use one of those.

On the Raspberry Pi 4 (note that this only works for the 4) there are four serial ports which are surfaced on the “hat” connector. You have to enable them and they surface as devices you can use.

You enable them by editing the /boot/config.txt file:

sudo nano /boot/config.txt

Then, if you want to enable serial port 2 (which I do) add the following line at the end of the file:

dtoverlay=uart2

Save the file and then restart the Pi. You can now ask it which pins it uses with the command

dtoverlay -h uart2

The important part of this information is the “uart 2 on GPIOS 0-3. This means that the pins will be assigned as follows:

Pin 27 GPIO0 UART2 TX
Pin 28 GPIO1 UART2 RX

The other two pins (GPIO2 and GPIO2) can be used for hardware handshaking, but I’ve not enabled that. The device will appear as /dev/ttyAMA1, I’m going to use it in Pure Data (but that’s a different blog post. For this one, let’s discover how to connect the port to a PICO. I’ve decided to use uart1 in the PICO. This can be used on pins GP8 (TX) and GP9 (RX). So the wiring I need is:

Raspberry PI         PICO
Pin 38 GND           Pin 13 GND
Pin 27 GP0 UART TX   Pin 12 GP9 UART1 RX
Pin 28 GP1 UART RX   Pin 11 GP8 UART1 TX

Note that the TX and RX are crossed over. The PIC is running Circuit Python, this is how to connect a program to this port:

serial_port = busio.UART(board.GP8, board.GP9, baudrate=19200,receiver_buffer_size=500)

Now if the Circuit Python program in the PICO sends data to this port it can be picked up in the PI.

PICO Squashing

I like making things slim and low profile. Yesterday I discovered that I’d overdone this, when it turned out that I couldn’t fit the lid onto a box I’d just spent five hours printing. There were two ways to fix this. One way would be to spend a while finding the right-angled header pins, solder them into a new PICO and then spend another while transferring all the wires from one device to another. The other way would be to just bend all the pins flat on the existing device. Guess which I did? 'm not proud of this solution. But I'm very proud that it works.

Improving user interfaces

I’ve been using my PICO Pomodoro timer and I’ve decided that the user interface is rubbish. When I designed the system I thought it would be cool to use the control knob as an input button. That way you can turn the knob to set a value and then press it in to make a selection. Clever eh?

Actually no. Why? Because when a user sees something with a button on it the first thing they will do is press the button. They will expect the button to do things. When it doesn’t do anything they turn the knob. But the user has to know that the knob can be pressed in to make a selection. If they don’t have that crucial fact the whole device is useless to them.

I’ve upgraded the code to version 2.0. This lets you press the button or the knob to make a selection. If you press the button when the time is set to 0 the device now shows a message saying “turn the knob to select a time”. The device still works like it used to, but now it is much easier to get started with it.

In my experience this is how user interface design goes. Things that you think are intuitive frequently aren’t. If I’d shown this to someone before I shipped it they’d have come straight back with the obvious question “Why doesn’t the button do anything?” and I could have fixed it. So the lesson is to show what you’ve made to other people as much as you can.

Update: The original title for this post was “Stupid user interface design by Rob”. After some thought I’ve changed this title and edited this post to remove the word “stupid”. I try not to call people stupid. So I shouldn’t call myself stupid either.

Upgrade your Circuit Python version in the Raspberry PI PICO

My first version of the PICO MIDI Cheesebox used Circuit Python 6. And it worked fine. But I thought I’d upgrade to version 7. This turned out to be harder than I anticipated because of my less than stellar hardware design. The Raspberry PI PICO that I use to control the CheeseBox is locked inside the case with no access to the all-important BOOTSEL button that you hold down during power on to force the device into firmware upload mode.

However, the good news is that you can use a couple of Python statements to get your PICO to reboot into firmware mode so that you can drop in a new version of Circuit Python (or anything else). You can issue the commands down the terminal connection. I used the Thonny program which provides a REPL connection to my Circuit Python powered CheeseBox (or Crackers Controller).

microcontroller.on_next_reset(microcontroller.RunMode.UF2)

This is the first command you type in. It tells your device to reset into UF2 mode next time it is reset.

microcontroller.reset()

This is the second command. It resets the device and makes it appear as as storage device into which you can load the firmware. Note that if you do this you will wipe the contents of your PICO so make sure that you copy anything important off it first.

I’ve upgraded the firmware for the CheeseBox on GitHub to Version 7. You can find it here:

https://github.com/CrazyRobMiles/PICO-MIDI-Cheesebox

PICO MIDI Cheese Box Constructed

When you put your ideas out on the internets and in magazines it is always nice to see someone actually build one. “viragored” has not just built a device though, they’ve also designed their own case because I forgot to publish the design files. I’ve put my designs on GitHub now. You can find them here. But I think I like that the new one is better. I like the idea of using “push pins” to hold components in place rather than screws.

Interstate 75

Pimoroni do come up with good names for their products. Their PICO Interstate 75 looks very interesting. It plugs straight into the back of a HUB-75 based LED panel. These are the ones that we’ve been using to make a LED cube. They are the kind of panels you see on the side of buildings displaying brightly coloured graphics. The Interstate 75 is powered by an RP2040 chip (the same as the one on the Raspberry Pi PICO). This is a really good choice for driving led panels because it has special hardware that can be used to generate the pulse sequences that are used to make the display light up. It also has two processor cores, so you can use one to drive the display and the other to generate the image.

I’ve ordered one for myself for Christmas. And one for number one son. With a bit of luck they’ll arrive in time for us to play with them on the big day…

Developer Developer Developer Videos now live

A few weeks ago I had a great time talking about making music with the Raspberry Pi PICO and Pure Data at the Developer Developer Developer Conference. All the videos are now online. You can find them on the conference YouTube channel here.

If you want to watch my video (and why would you not) you can click on the link above.

Pomodoro Timer Built

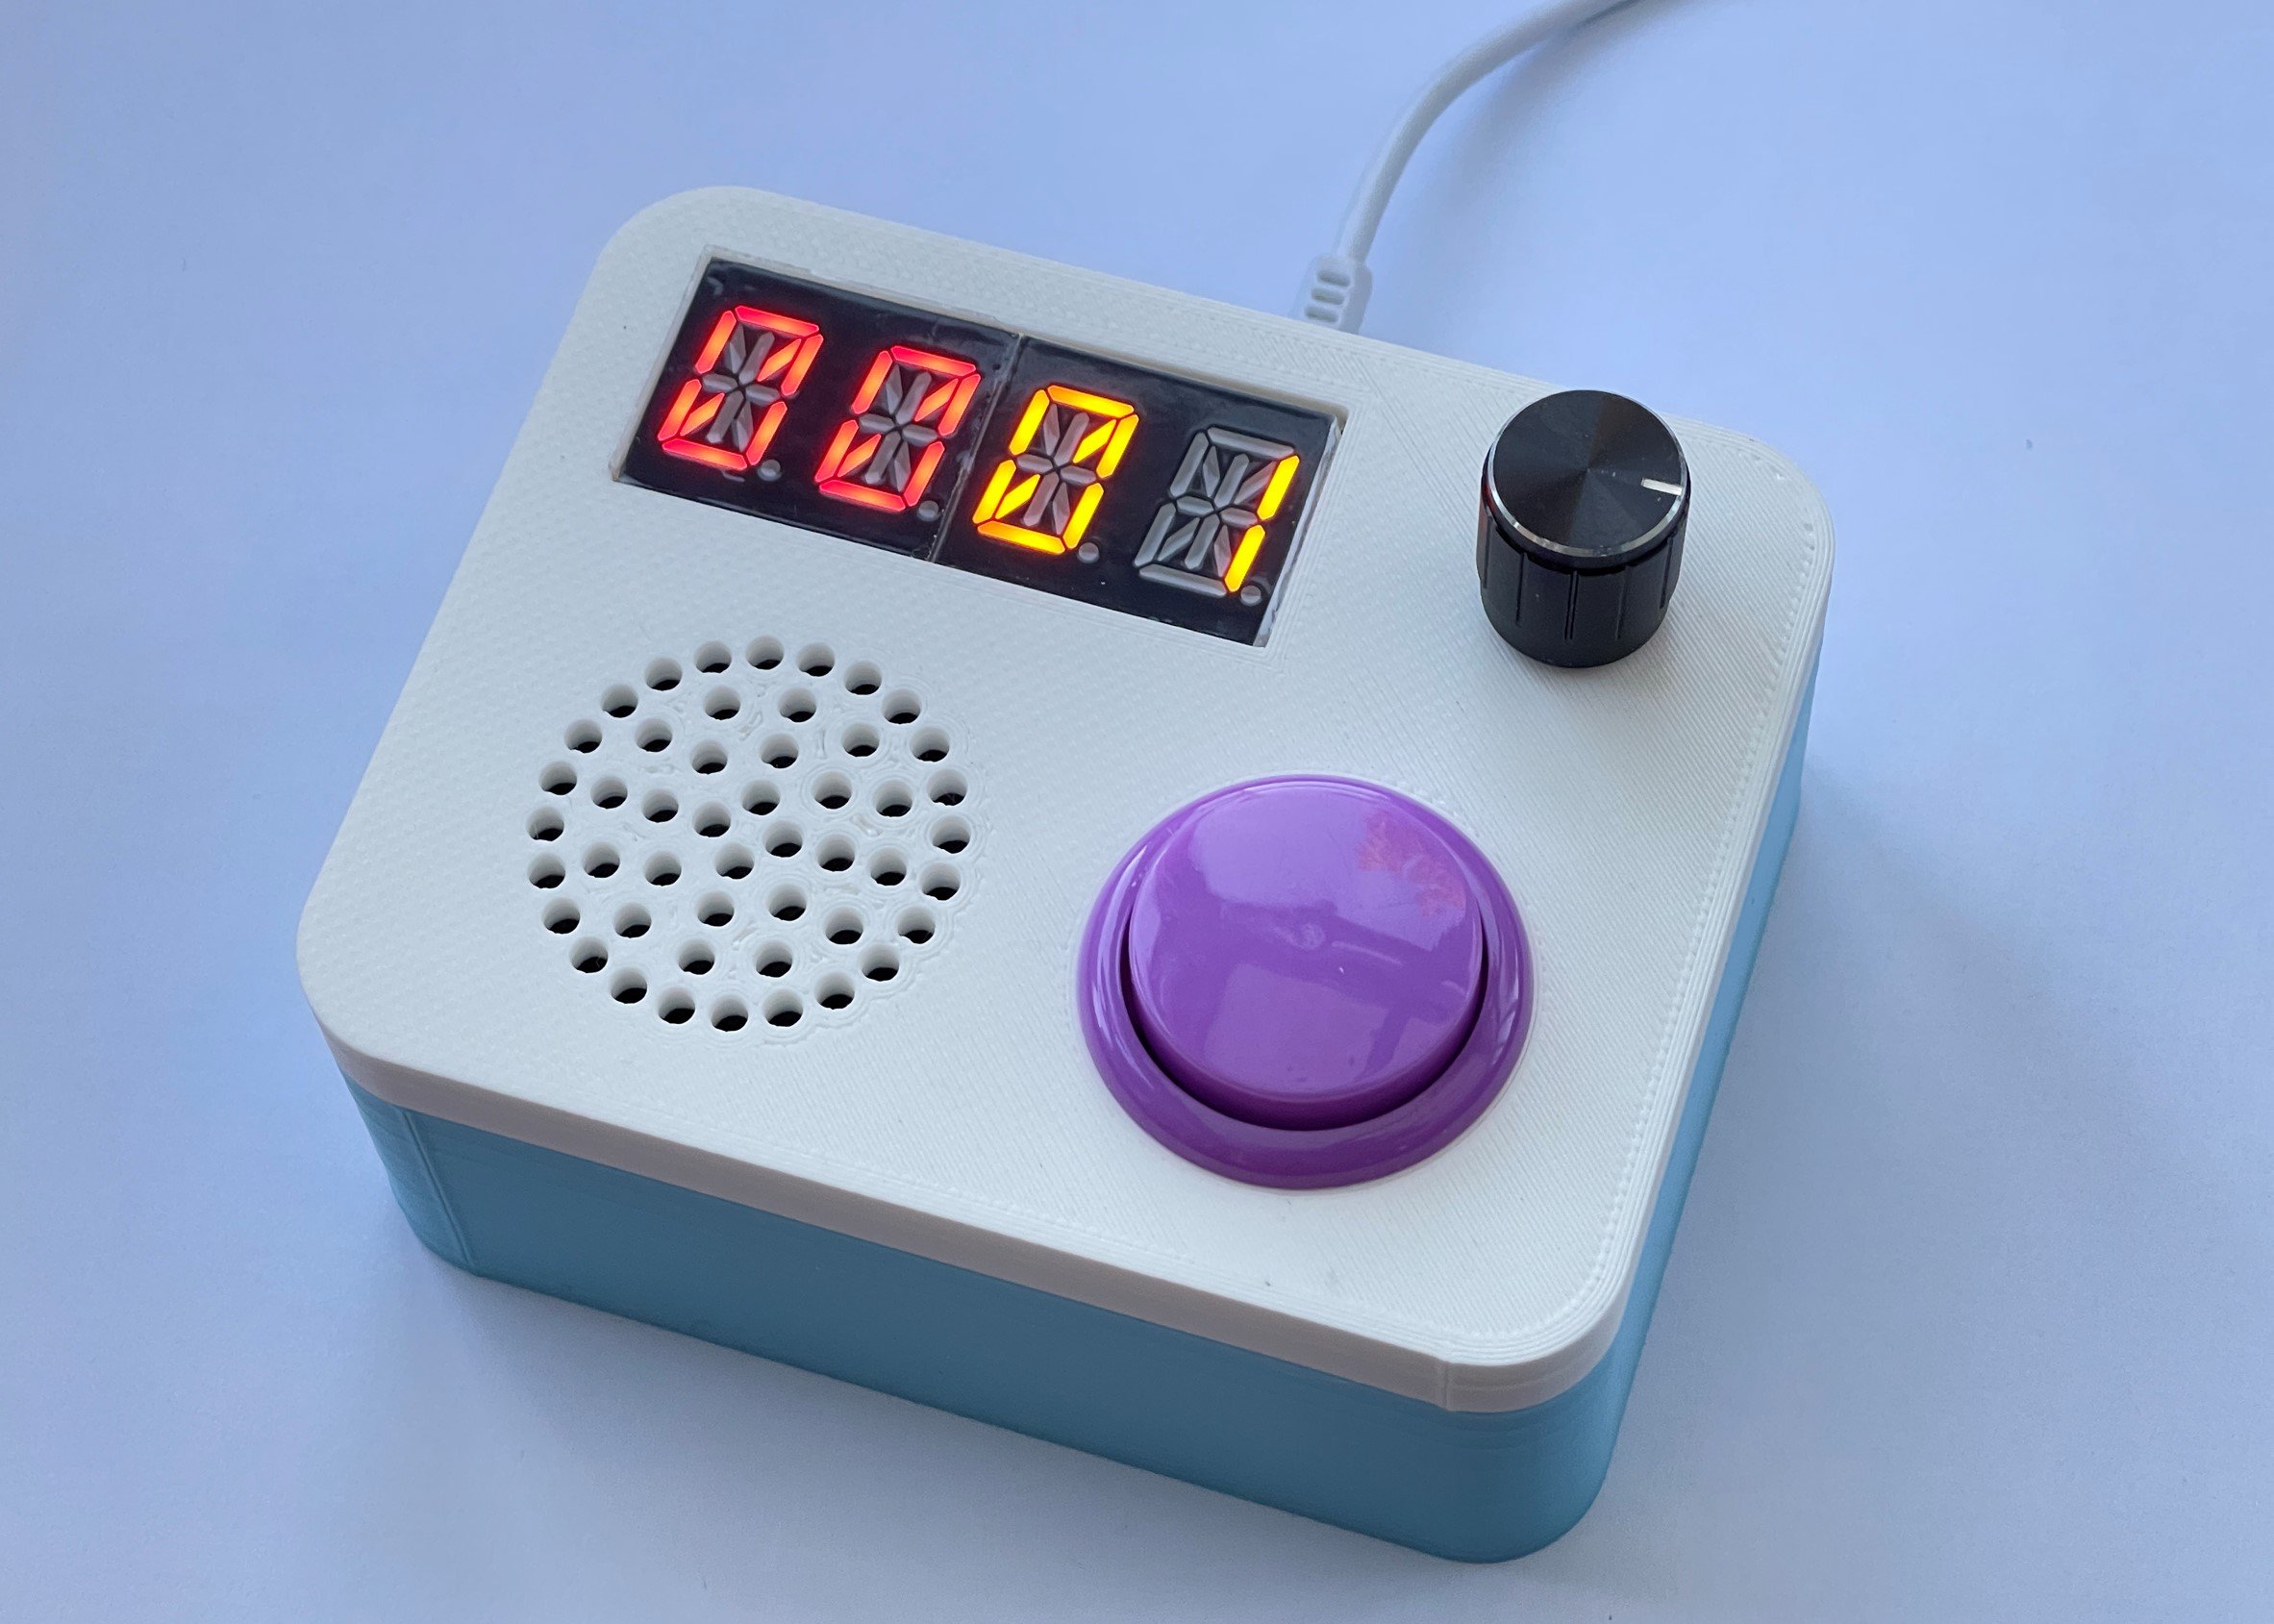
Every now and then I make something that I’m really rather pleased with. I’ve just about finished the Pomodoro timer and it I like how it has turned out. You twist the knob on the right to set the time. Then you set the mode (whether you want time announcements or not) and then you press in the knob to start the clock.

If you press the big purple button the timer announces the time remaining or used, depending on how you set it up. The sound quality is OK too. The speaker packs a surprising amount of punch. With a bit of luck the project will be in the next issue of HackSpace magazine.

Fun with Breadboards

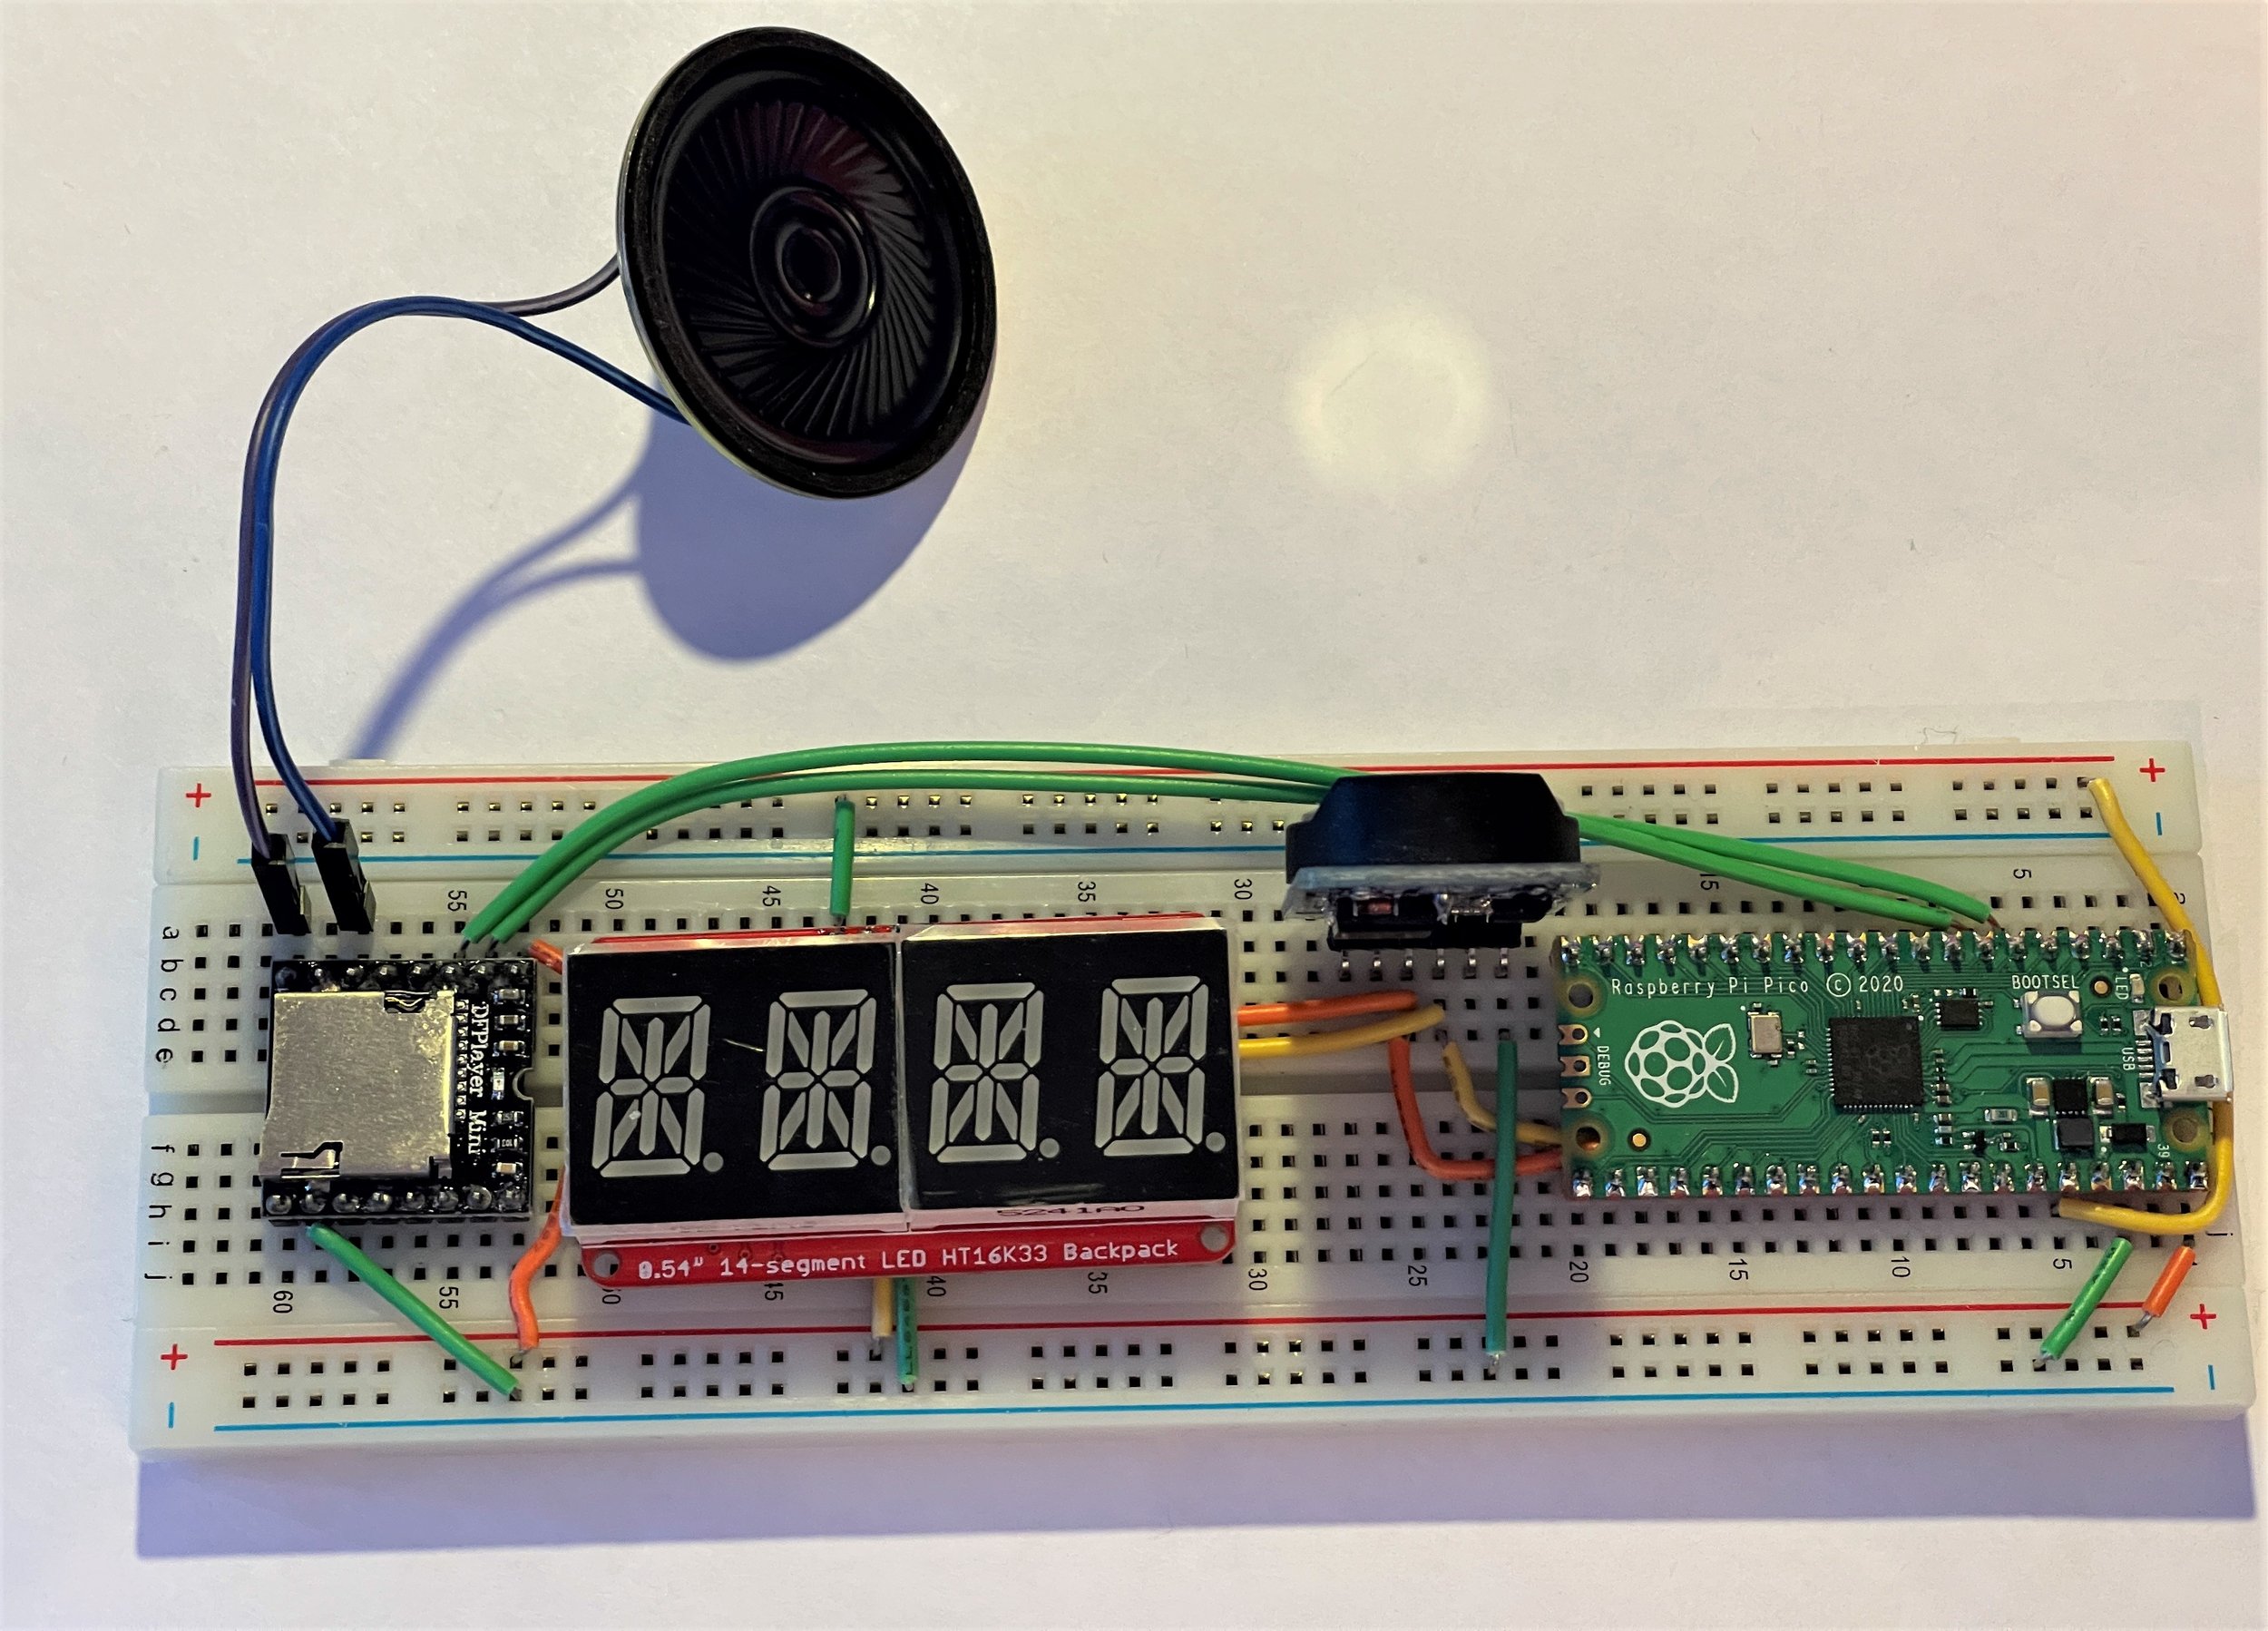
I’ve started on the hardware for my Pomodoro timer. I thought I’d build the circuit on a breadboard before I wired up the finished version in the case. I started off trying to do everything super neat. Then I discovered that some of the connections did not lend themselves to neatness, so I ended up just adding all the wires that would make it work.

I think it is called a breadboard because people look at it and go “crumbs”…….

Hungry DFPlayer

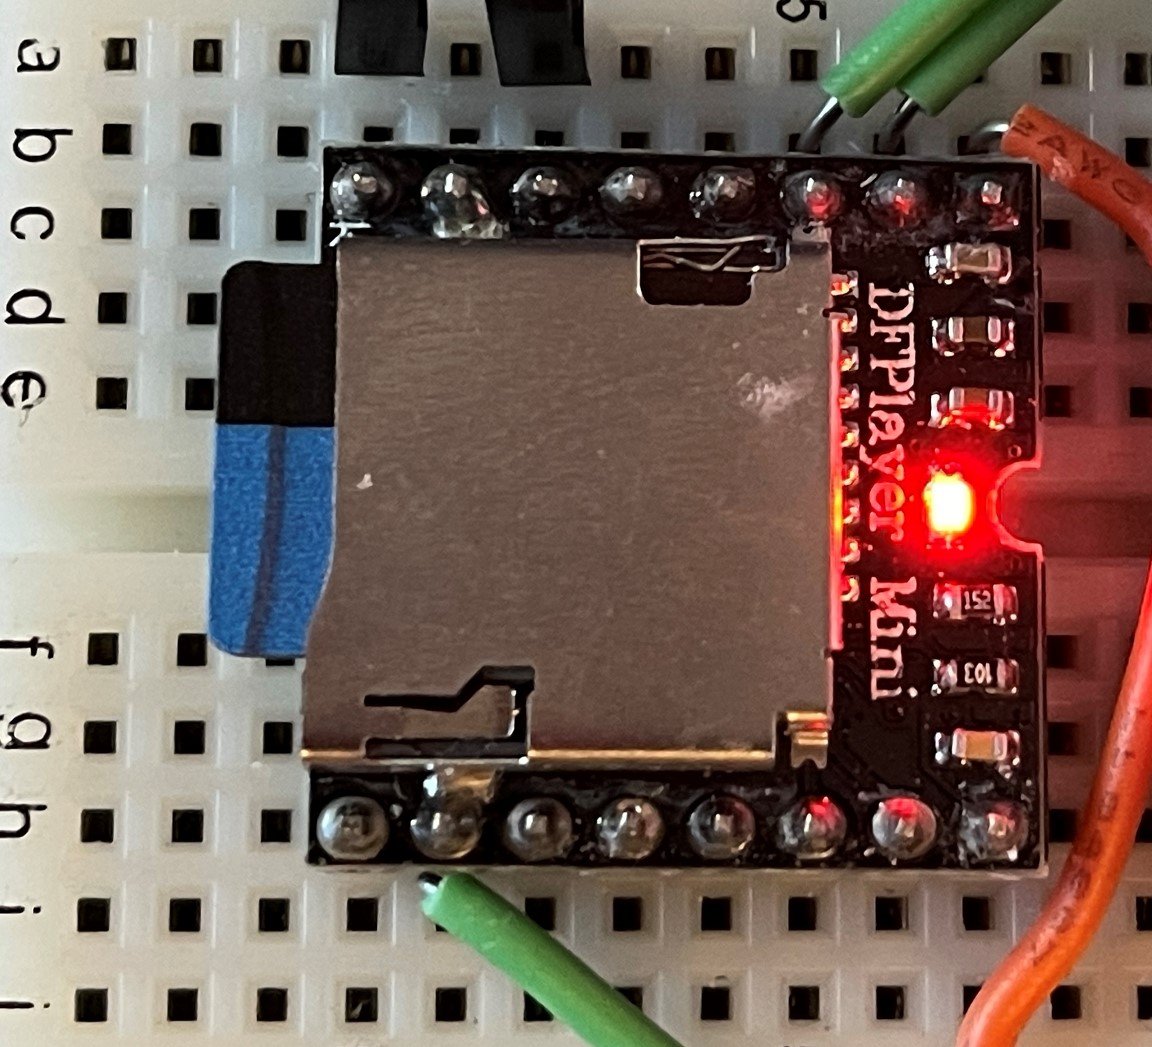
The DFPlayer Mini is an amazing device. Particularly as you can pick one up for around a pound on AliExpress. It will pull mp3 files off a MicroSD card (which is the most expensive part of the system) and play them for you. It outputs good quality stereo and even includes an amplifier that will drive a pair of speakers up to useful levels.

I’m using it in a device that I’m building. I’ve got a Raspberry Pi PICO triggering the audio playback over a serial connection. I loaded an MP3 file onto the SD card for testing. I used the track Fireflies from Owl City for no particular reason. The music started playing, which pleased me. Then, around 20 seconds in the drums and the bass kicked in and the whole thing crashed. Which did not please me.

It’s a power supply thing of course. I was powering it from a USB port on my PC which is a bit weak. I switched to a different port and it worked fine. There’s an important lesson here that I’ve mentioned before. If you’re making something and it starts to misbehave try a different power source.

The Crackers Controller Lives!

20211003_083230689_iOS (2).jpg

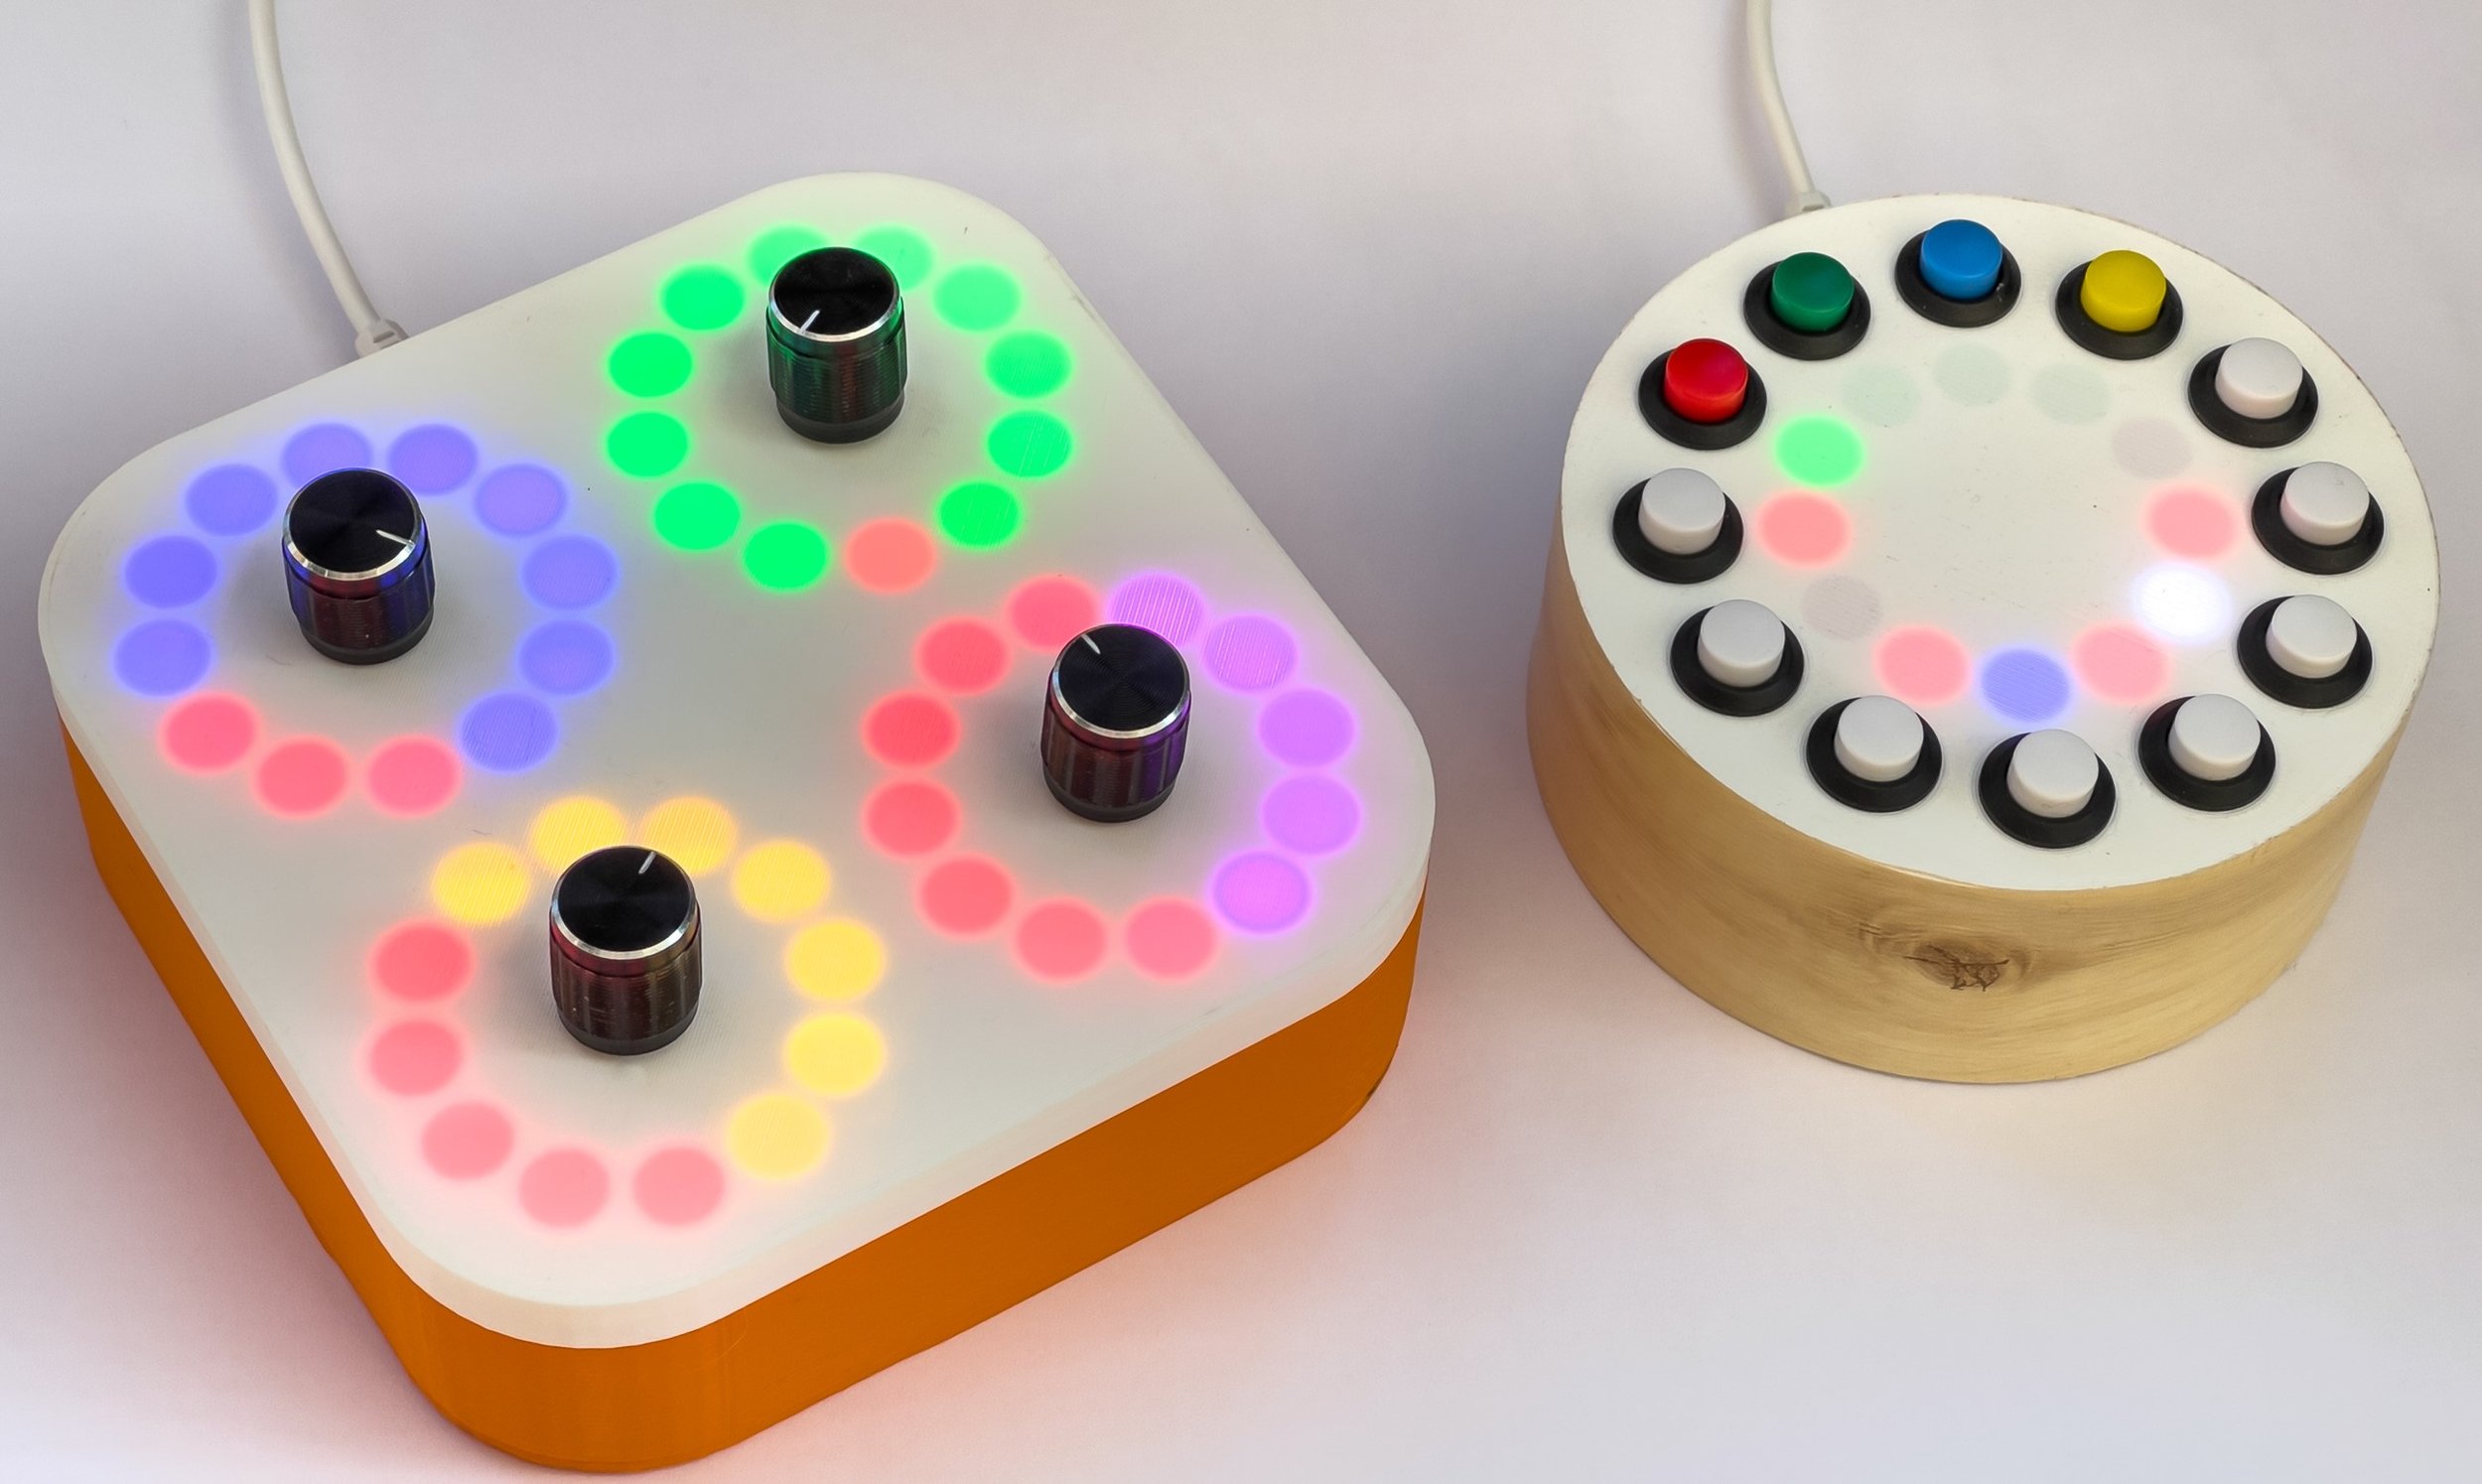
After another fun day of coding (I really know how to enjoy myself) the “Crackers Controller” now lives. You can adjust settings by turning the encoders and the value is displayed on the pixel ring. If you press the encoder in you can switch to another setting value (above we have “blue” and “yellow” settings. The settings are sent out as MIDI control change messages. The controller works with the MIDI cheesebox you can see on the left, which will provide the note input. Now I need to write the Pure Data patch that will make all the sounds.

"Crackers" PICO Midi Controller takes shape

external.jpg

I’m building a partner device for the “PICO Midi CheeseBox”. This gives four rotary controllers with pixel ring feedback displays which you’ll be able to use to control MIDI playback. It’s called the “Crackers PICO Midi controller”. Why? Take a look inside..

internals.jpg

The wiring is a bit crazy, but it worked first time. I’ve got a new build technique called “making the design and writing the drivers before I build the device”. You can see the circuit diagram and the Circuit Python code creates controller instances for each of the four inputs.

The controller will be making an appearance in a future HackSpace magazine, when I’m going to be using it to control a Pure Data synthesizer.