Driffield Steam Fair

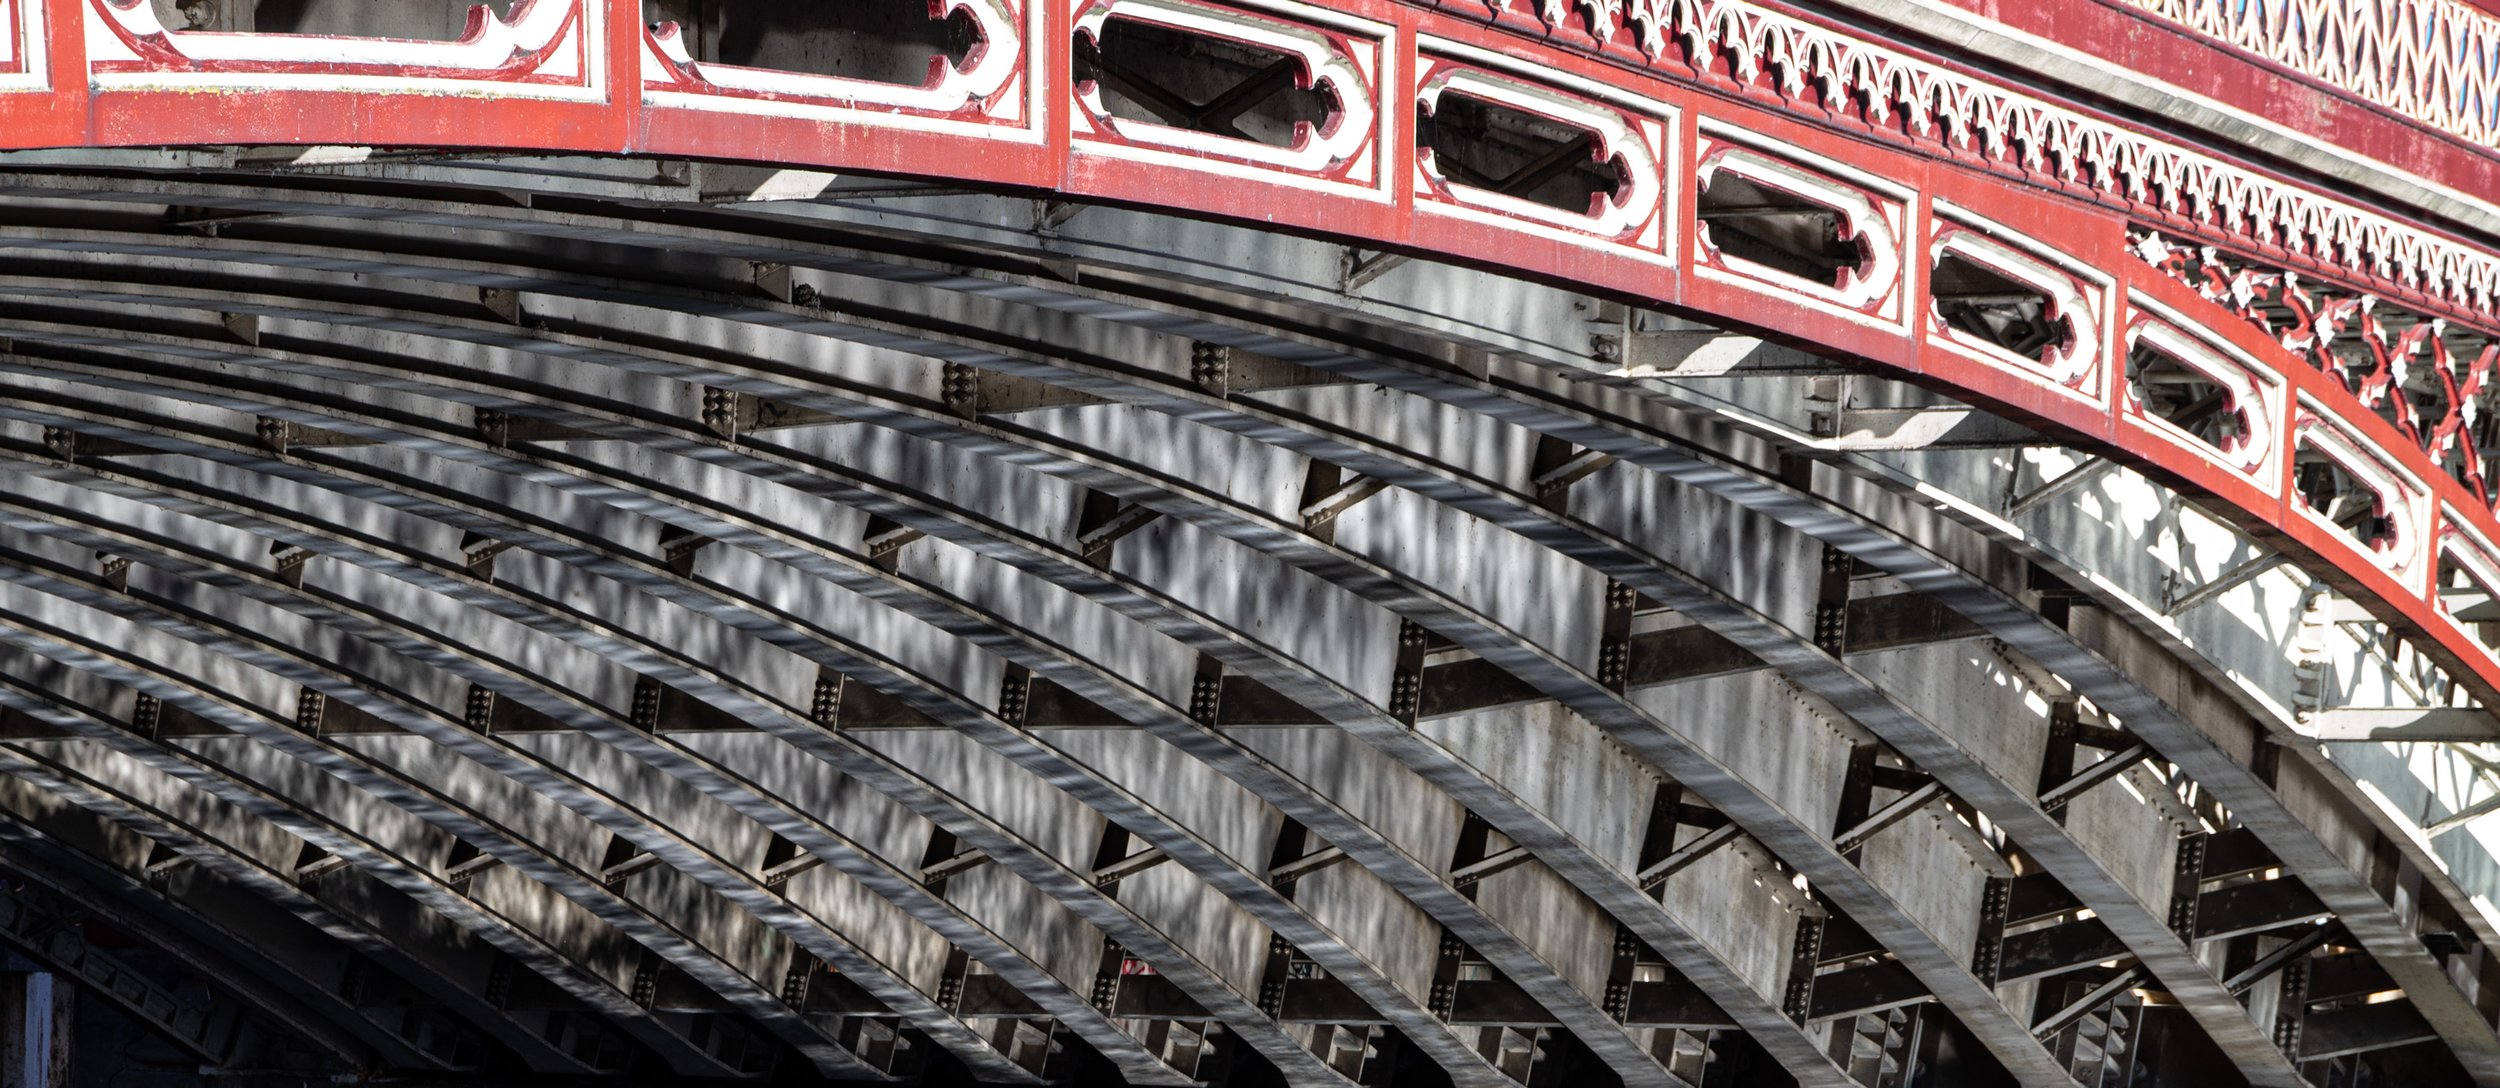
Driffield Steam Fair was awesome this year. Amazing weather (no surprises there) but also the hugest (It’s a word) range of engines of different shapes and sizes. In honour of the occasion I lugged around my very heavy and very old Hasselblad with the super heavy telephoto lens and took a bunch of shots. I’m not unhappy with the results.

If you are wondering why the pictures also include a moped, it’s because I used to have one rather like it.

Hammer Horror

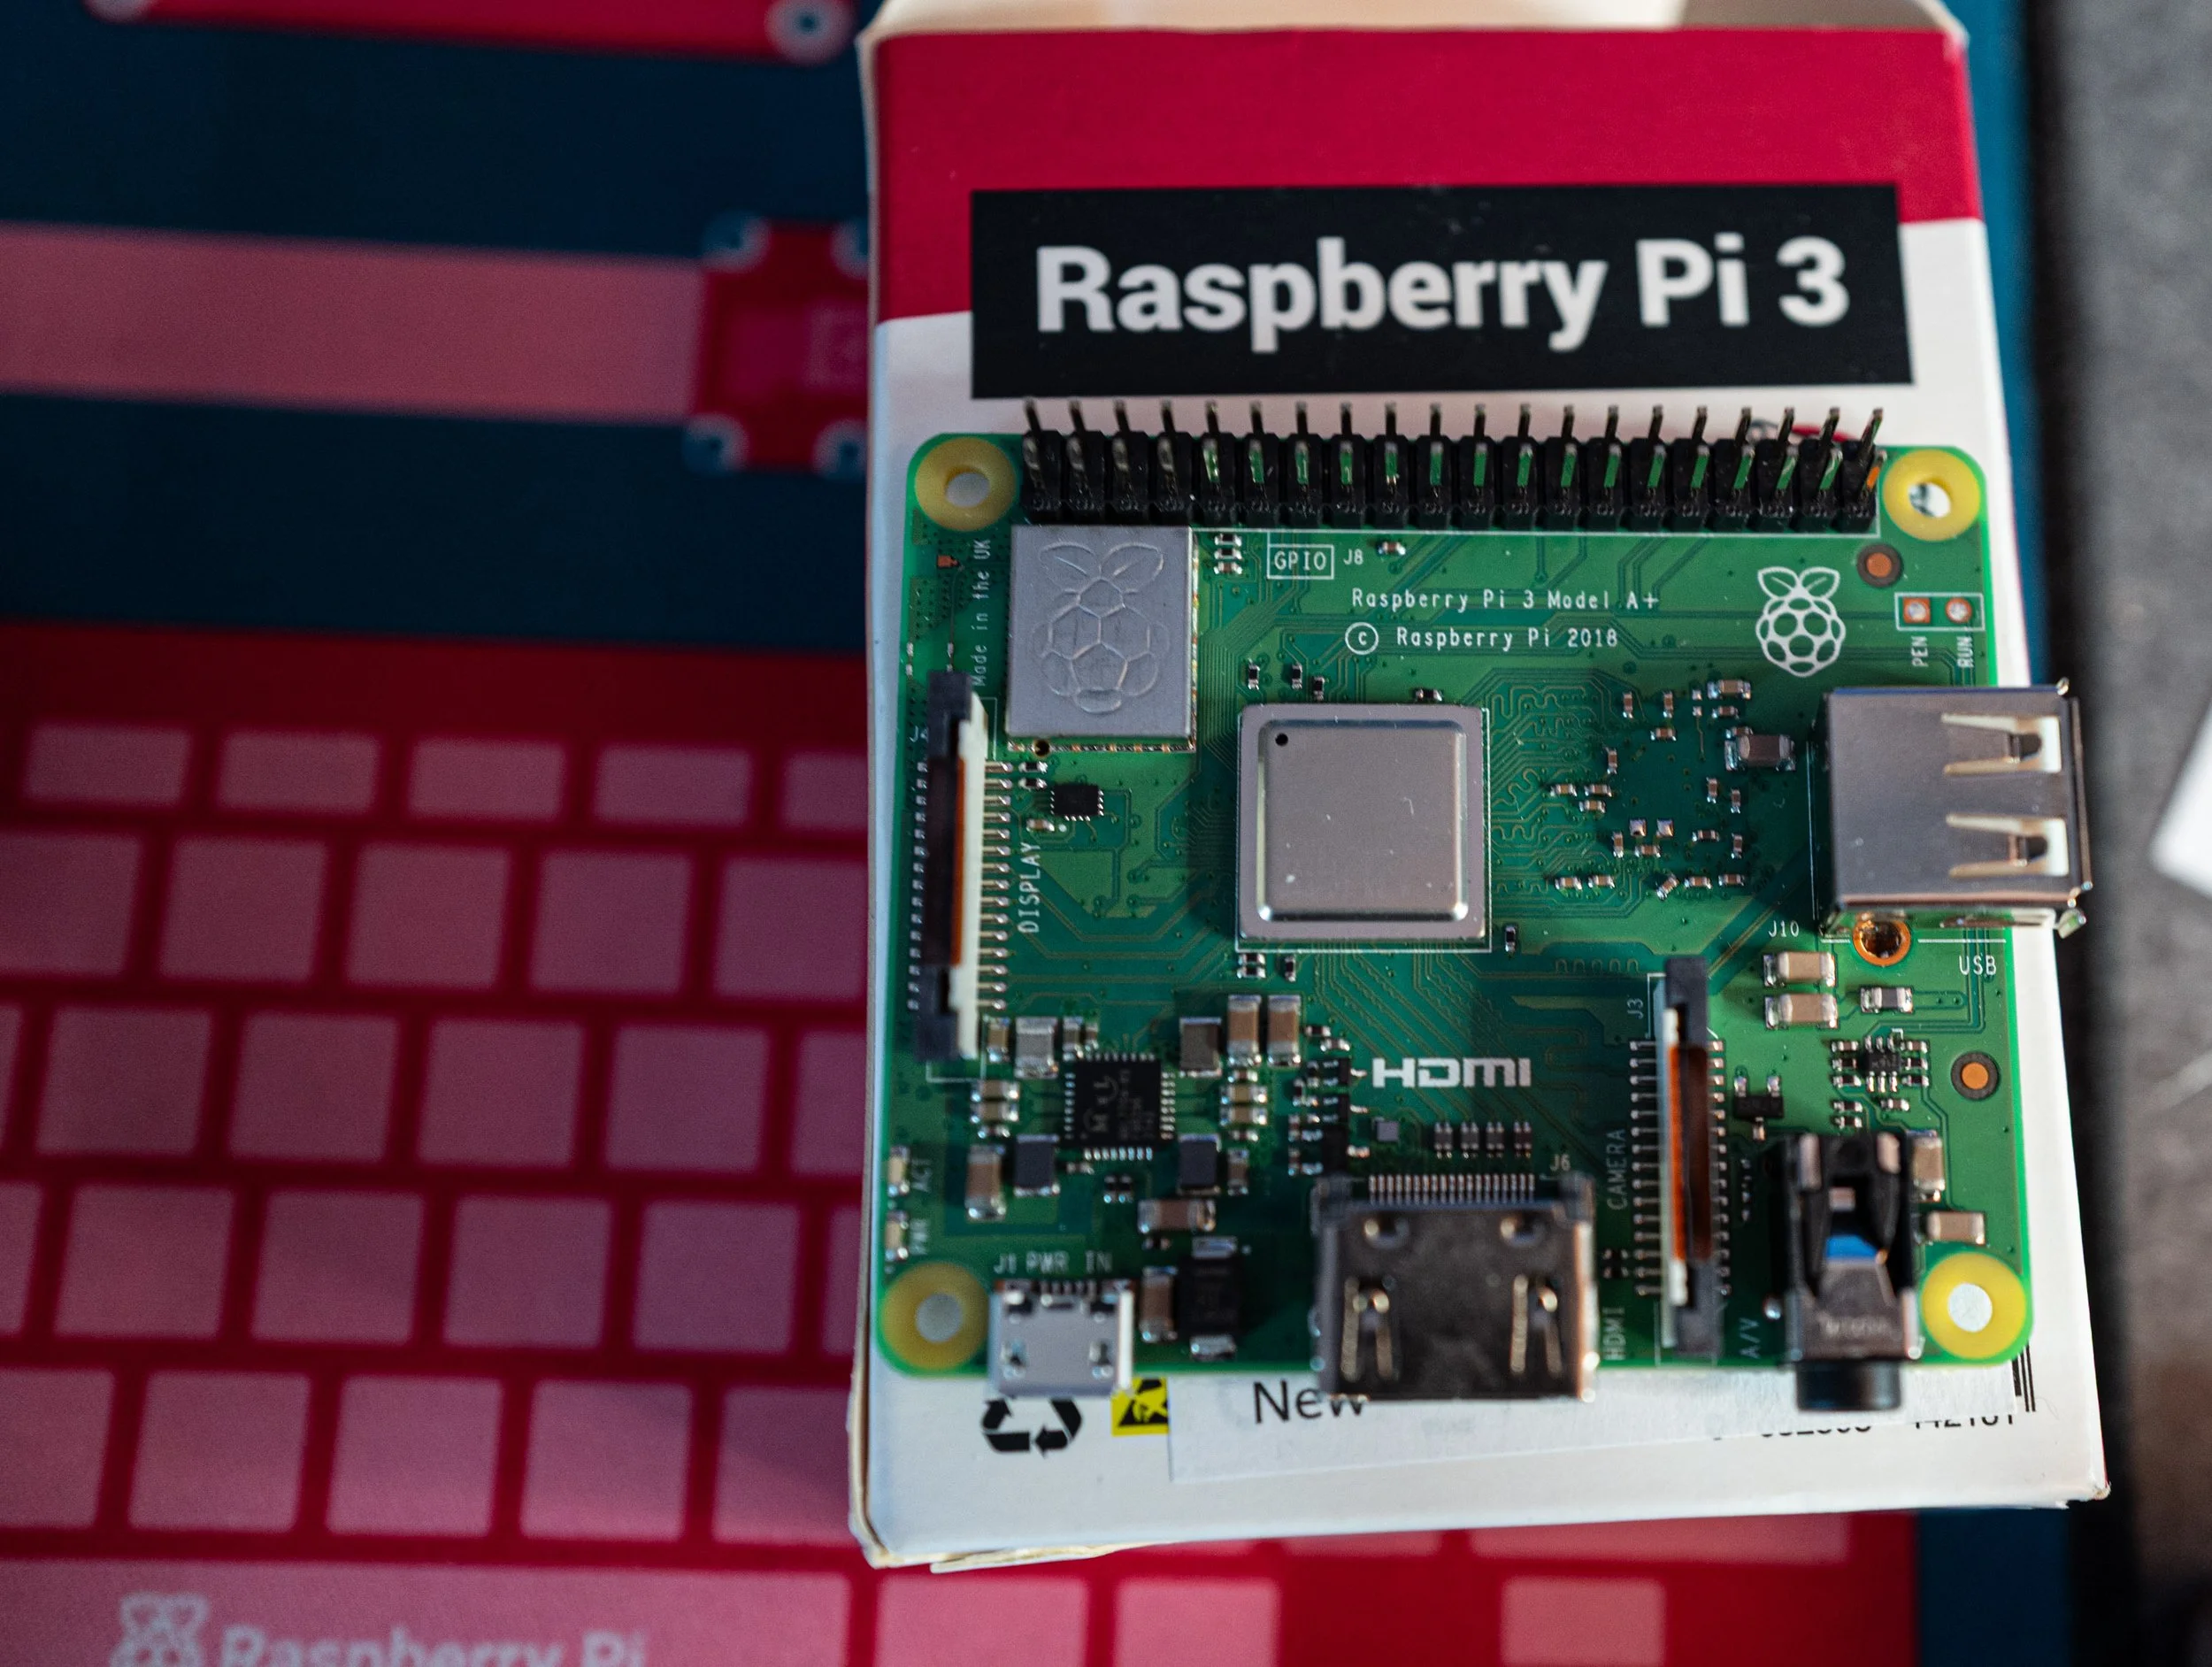
I thought I’d add some lights and whatnot to my printer server. This means adding header pins to my Pi. I thought I’d use the hammer headers from Pimoroni rather than do soldering. I bought a bunch a while back because they were reduced. They are reduced at the moment too.

The idea is simple enough. Pop the Pi on the jig, insert the headers, pop the cover thing on and then bash it with a hammer until the pins are in. Except that I got a bit too keen and bashed the pins all the way through the board (don’t do this). “Never mind”, I thought. “I’ll just pull the pins back a bit and all will be well”. It wasn’t. I then spent an entire morning trying to work out why my pixels weren’t lighting up before discovering that if the pins go all the way through the board they don’t make proper contact. If you have a go with these make sure that you arrange things so that the pins don’t go very far out of the other side of the Pi.

I got the board to work by soldering all the pins into place. And on the journey to this I discovered lots of fun things about controlling neopixels from Python on a Pi. Pro tip: your code has to run in supervisor mode. It really made me want to go back to using a PICO where it all just works.

Anyhoo, I’ve got my leds working now, which is nice.

Printer fun

I’m writing an article about using a Raspberry Pi as a printer server. I’m using the cheapest Raspberry Pi, the Pi Zero W. It’s a great way of making cheap colour printing available to your household. Above is a picture of a printer printing a picture of a printer printing a picture of a printer. The thing on the right is the Pi powered print server. Two green lights is a good thing.

Generative AI and the future of creativity

By making the Custard Cream Camera I may have stepped on a hornet’s nest of debate about generative AI and the future of creativity. A lot of photographers and artists are very worried about the impact of generative AI on the creative process. I feel their pain. As a writer I know that AI models trained on my words are now writing like Rob Miles. There might even be some photographic models trained on what I’ve posted on Flickr over the years. In which case, good luck to them….

Anyhoo, we can now do things with our pictures that would previously have been time confusing or impossible. I made the picture above by taking a picture with the Custard Cream Camera and asking it to make it look like a comic book illustration. To my untrained eyes it looks OK. To a proper illustrator it probably looks terrible, but I can live with that. I’ve been having a lot of fun taking pictures and then asking the nano banana generative AI photographic thingy fiddle with them.

I understand that the service has guard rails to ensure it won’t do anything “bad” and I have a policy of never posting identifiable pictures of anyone but me unless I have the explicit permission of the person in question, so I don’t think I’m putting anyone at risk here. But we do need to be mindful that we are now entering a time when it is much, much, easier to fiddle with media or even create brand new stuff.

Of course, this has happened before. When photography came along I’m sure that lots of artists were very upset that there was now a much easier and cheaper way of making pictures. And when word processors with grammar and spelling chequers arrived there was much muttering about how this was making things too easy. And don’t get me started about the replacement of log tables by calculators.

You might argue that we really should put this genie back in its bottle, that this form of human replacement is going to do away with creativity as we know it and usher in a world where everything is made by machines driven by what they have already seen. And so nobody should use generative AI for anything. I’m sure a similar argument was put forward when photography was getting started.

I kind of feel the reverse. I think we should fiddle with this technology as much as we can. And we will discover limitations. We’ll learn how to spot what was made by AI, we’ll lament the lack of the human touch in generated works. And we’ll find we prefer things made by people. Creatives will find ways to use this stuff that we just don’t know about yet and the world will move on, richer and more interesting. And I’m going to keep taking analogue pictures on film as well as playing with the Custard Cream Camera.

Ditch your passwords with Secure Sockets

Secure Sockets are super useful. And it is worth knowing how to set them up for use on a Raspberry Pi. I’m just documenting these things here so that I can refer back to this post whenever I need to remember what to do.

The situation is this: You’ve just set up a new Raspberry Pi using the wonderful Raspberry Pi Imager software. You’ve set the machine name, enabled SSL and configured the WiFi so that the Pi will wake up and connect to your network. Next you need to make it easy to connect to. Let’s start with the first part, creating an SSL identity on your new Pi.

You perform this first step on your Pi. You’re going to make a folder to hold keys and a unique key that will identify this device. The first thing you do is connect from the console on your computer (in my case a Windows PC) to your new Pi. If you’ve set the Pi up to use SSL and Password authentication (which is what I do) then you open a command prompt on your PC and type:

ssh printserver.local -l rob

The ssh command above has two arguments. The first is the network address of the machine on the local network. This is the machine name followed by “.local”. I’ve just made a new machine called printserver, so I’m going for printerserver.local. The second argument (after the -l - which is lower case L by the way) is the username that you created on the Pi. If you leave this out the ssh call will use the username from the machine you are using to connect. If you call yourself the same name on everything this will work, but it didn’t for me. I created the pi with the username “rob” because I am an egomaniac. Your name might be different.

After you have entered this command you will be asked to confirm that you want to add this machine in your local key store on your PC. You do, so say yes. Next you will be asked for the password for the user on the Pi (in my case the password for rob) and then you will be logged in as a terminal user on the machine.

Now you want to give your new machine a unique identity in the world and set up a key storage location. Issue the command below:

ssh-keygen

You will be asked a series of questions. Just press return after each of them. Now you have a key storage on your device, along with an SSH key for that device. Now you switch back to the terminal on your PC. What you are going to do now is copy the key from your PC onto your new Pi. This is good because it means you’ll be able to open an SSL ternal session without entering a password. It’s also good because any programs that want to use SSL (for example Visual Studio Code remote terminal) will be able to work seamlessly.

cat ~/.ssh/id_ed25519.pub | ssh rob@printserver.local 'mkdir -p ~/.ssh && cat >> ~/.ssh/authorized_keys'

This is one long command. For the record, cat is a command to copy files, I sent mine using the username rob and to the device printserver. You will probably need to change your command. This pre-supposes that you already have keys on your computer to send. You can use the command ssh-keygen on your computer to set that up first if you need to.

If you have done everything right you should be able to login using the ssh command we saw at the top of the post and not be asked for a password. Which is nice.

Picture Table View on the Custard Cream Server

I should probably make it display the pictures the right way up

One of the things I liked the most about the PlayStation 3 was a photo display mode which showed your pictures being dropped onto a table as if they were physical photographs. Yesterday Claude and I had a go at replicating the experience in the browser. I think we are getting close. There’s a funny sliding movement when the picture hits the table that needs work and I want to add some more lighting effects, but it is quite fun to watch. If you want to see it in action, head to https://custardcream.cam/ and click “Watch the slideshow”.

AI image processing costs

The Custard Cream Camera sends images to Google Nanobanana for processing. You speak your commands, for example “Add cheese”, and the image and the command are sent over the internet. When I started doing this I was a bit worried about the cost of using AI like this, but it turns out to be bearable. I did a lot of processing at emf, and we’ve been playing with the camera this week, but I’ve only used around six pounds worth of the service. If you fancy having a go with it, don’t let the price put you off.

Custardcream.cam

I quite like dew-lumen-shell

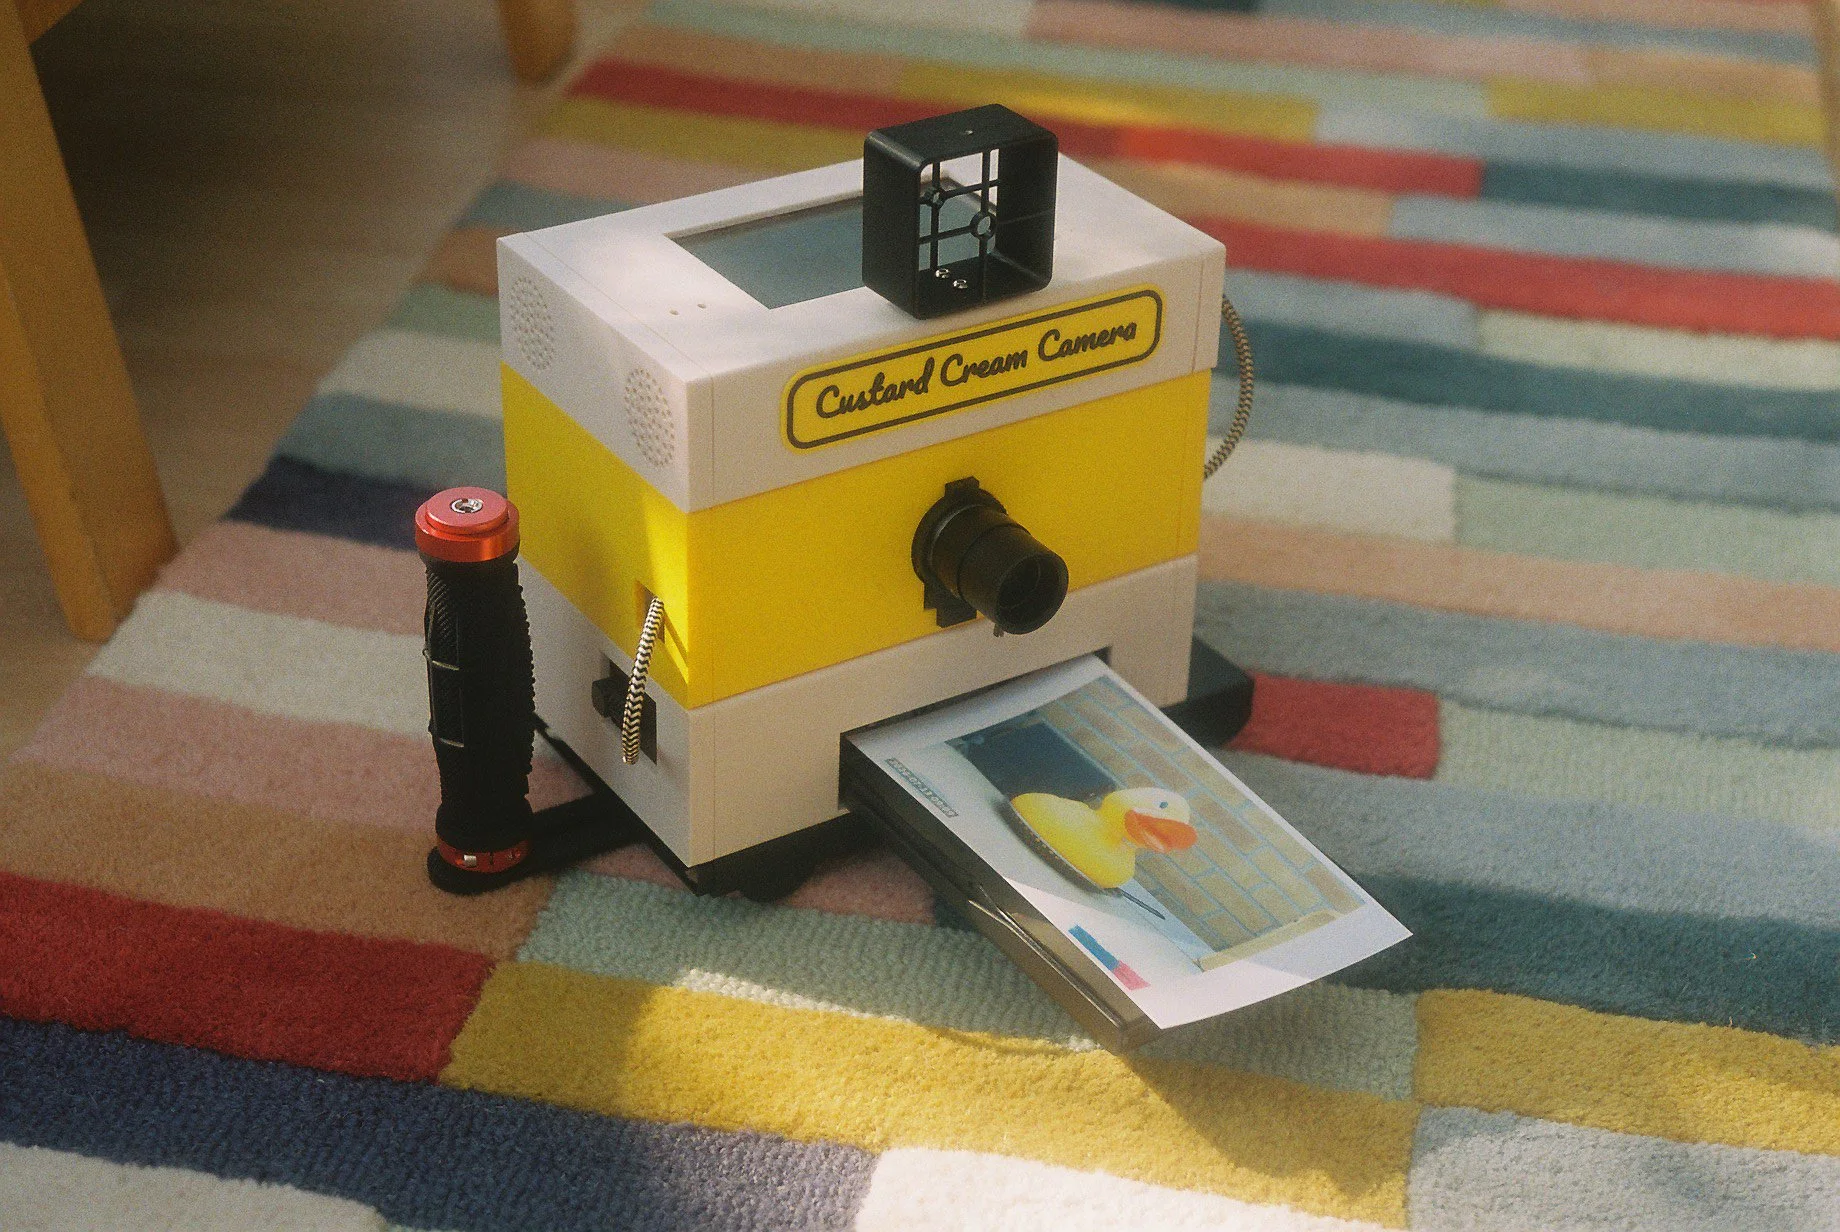
The Custard Cream Camera is backed by the Custard Cream server, which you can find at: https://custardcream.cam/ The camera has a “publish” command that sends pictures to the server for the whole world wide internet to scrape.

You find pictures by their unique three word address or you can just view random shots. The really interesting thing about this server is that it is running on my desk. I’m using a Raspberry Pi 5 to host everything. It’s connected via a Cloudflared connection which does all the clever mapping between the domain name (custardcream.cam) and the node.js application that hosts the site.

It really is very easy (and surprisingly cheap) to get a web presence using a tiny computer you might already own and a little bit of configuration.

Happy Birthday Me

I got some nuts as well

Had a splendid birthday today. Started with breakfast in bed plus presents and cards. I’ve been after a “Seagull” lens for a while. And now I’ve got one. I had a nice morning fiddling with code, lunch out and then headed to see The Odyssey movie. It. Was. Awesome. Proper film making on a huge scale. We saw it on a “normal” screen and it looked very good. I’d love to see it on a larger one, or better yet on Imax film. If you are wondering whether it is worth the trip, take the advice I saw at the end of one of the reviews I read. “Find the biggest screen you can and go and see it”.

Having a screw loose

On the top you can see the Raspberry Pi that controls everything. Underneath is the printer battery holder and the Raspberry Pi HQ camera module.

Every now and then at emf someone would ask me if the nut, bolt or washer they’d found on the floor was from the Custard Cream Camera. It usually was. I’d got everything nice and tight when I built the camera, but the jostling must have worked things loose. Also, I think that PLA (the filament type that I used) tends to deform when compressed, which loosened things. I’m going to have to add some locking nuts and maybe some varnish to hold the parts of the case together.

EMF Day 5

We were up bright and early to pack up and get on the road. Time taken to pack the bags and get everything together: 20 minutes. Time taken to get folding table back into its bag: 20 minutes.

It has been an amazing event. Best one ever by a considerable margin. The weather helped, as did the huge range of talks and installation, but the best bit for me was the people. Everyone was interesting and interested. There were lots of things I would have love to have gone along to, but I’d have needed several of me to get the most out of the time here. The good news is that a lot of the presentations will find their way onto YouTube so I can take a look at them later.

Huge thanks to everyone who made it possible.